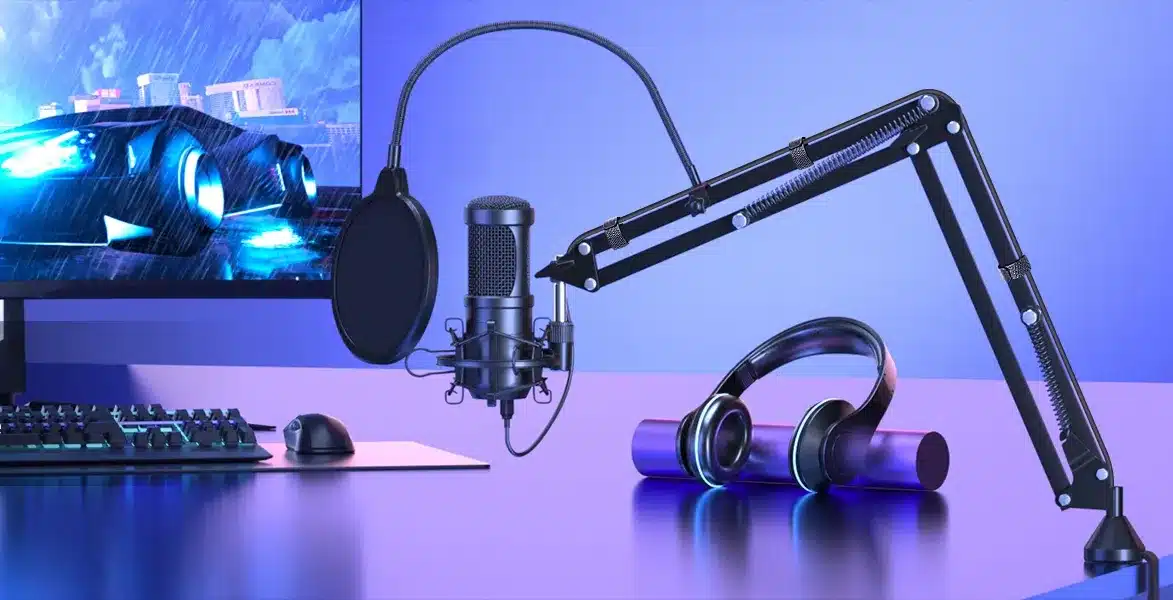
How to Reduce Plosives, Sibilance & Mouth Noises in Vocal Recordings?
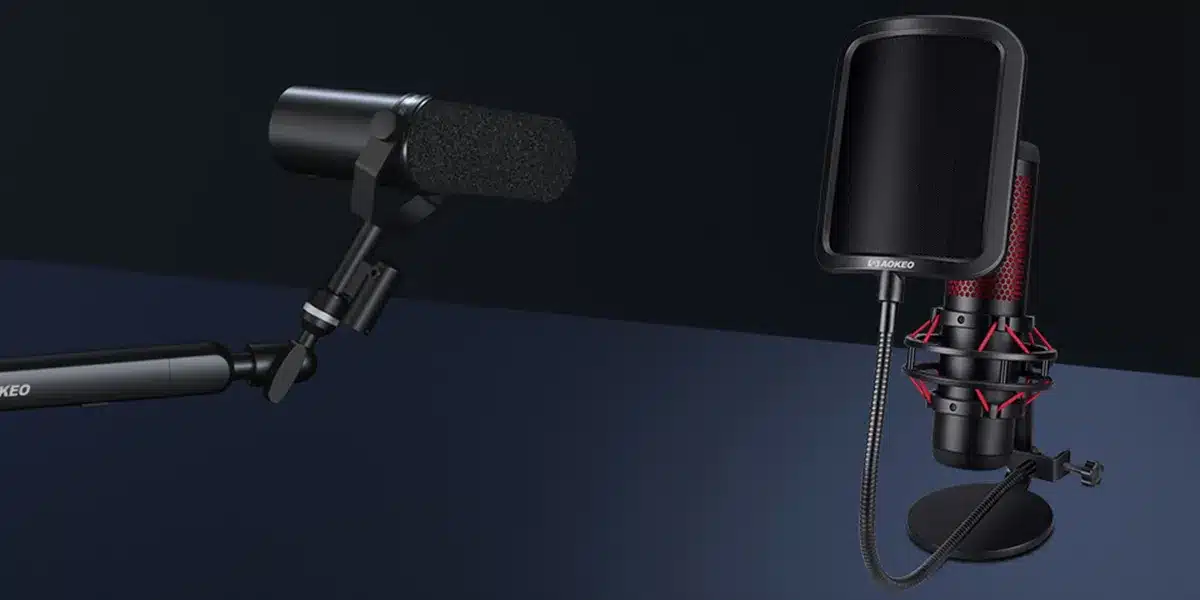
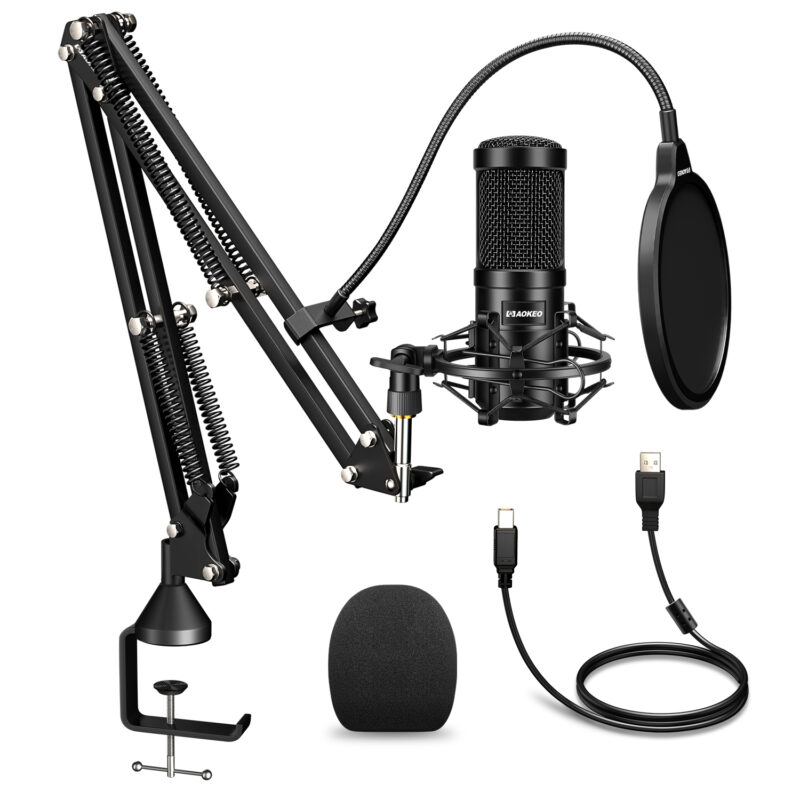

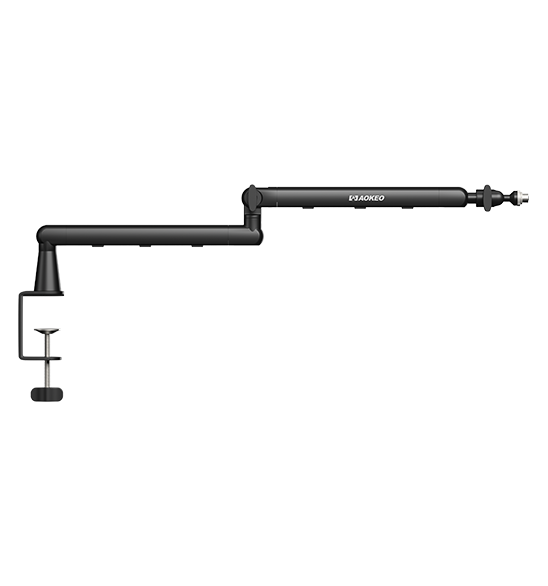
AK60 USB Mic Bundle
Original price was: $36.99.$34.99Current price is: $34.99.

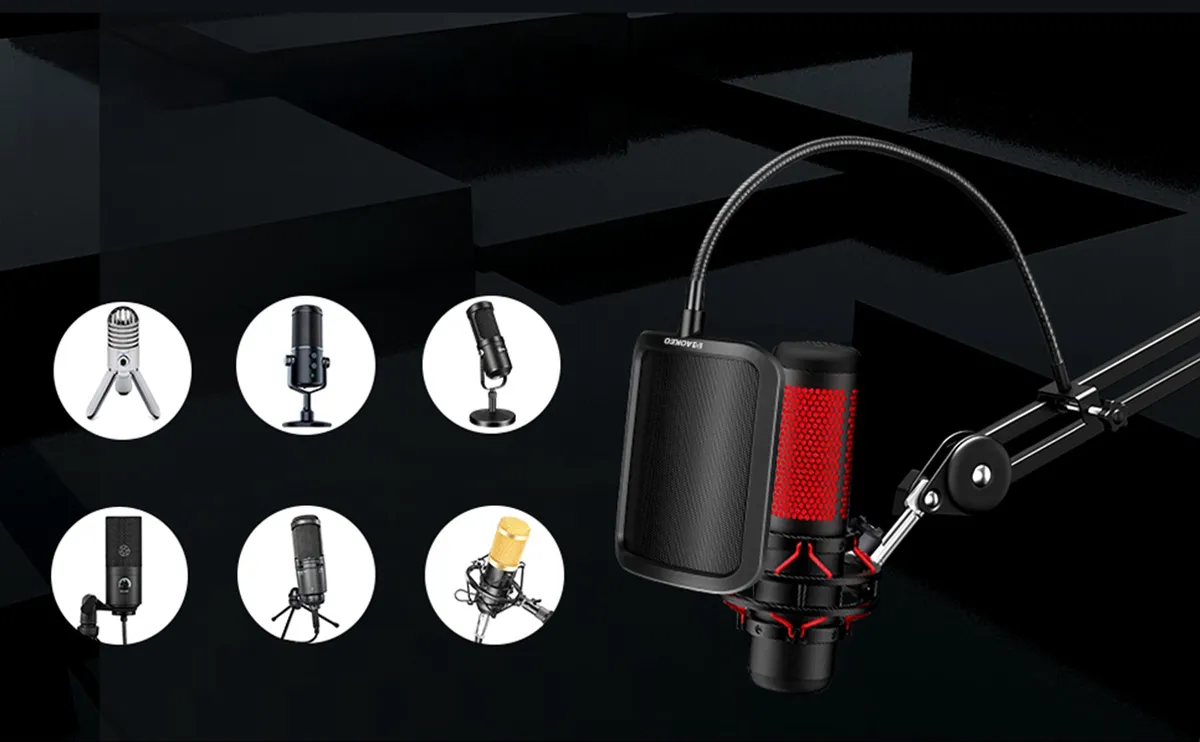
Aokeo B8-pop
Original price was: $15.99.$9.99Current price is: $9.99.
Aokeo F-pop
Original price was: $19.99.$12.99Current price is: $12.99.
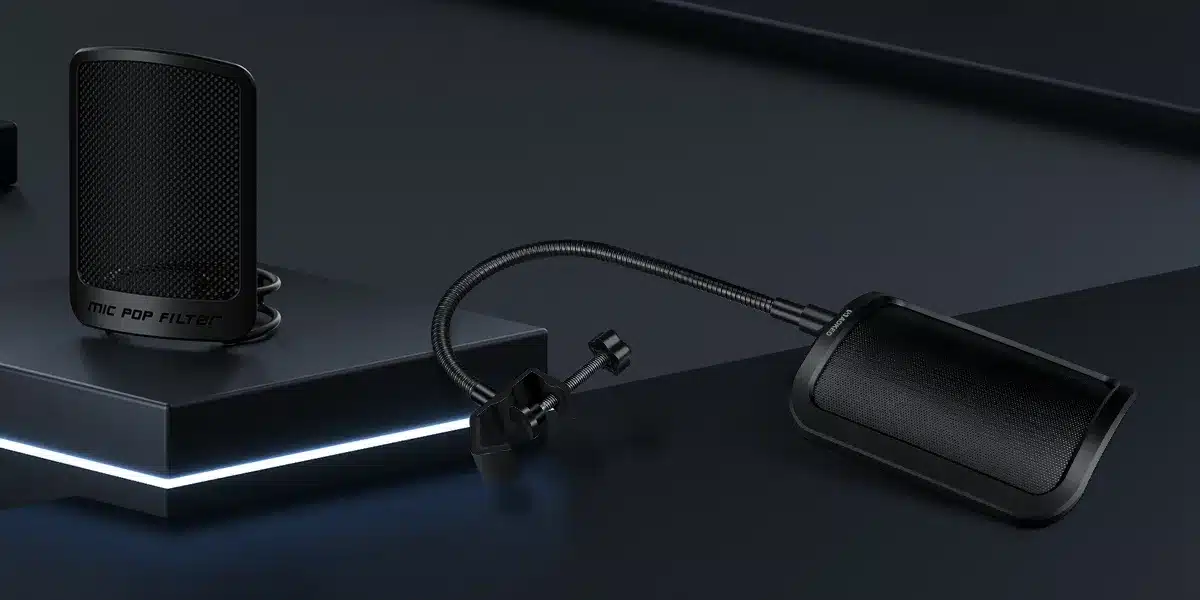
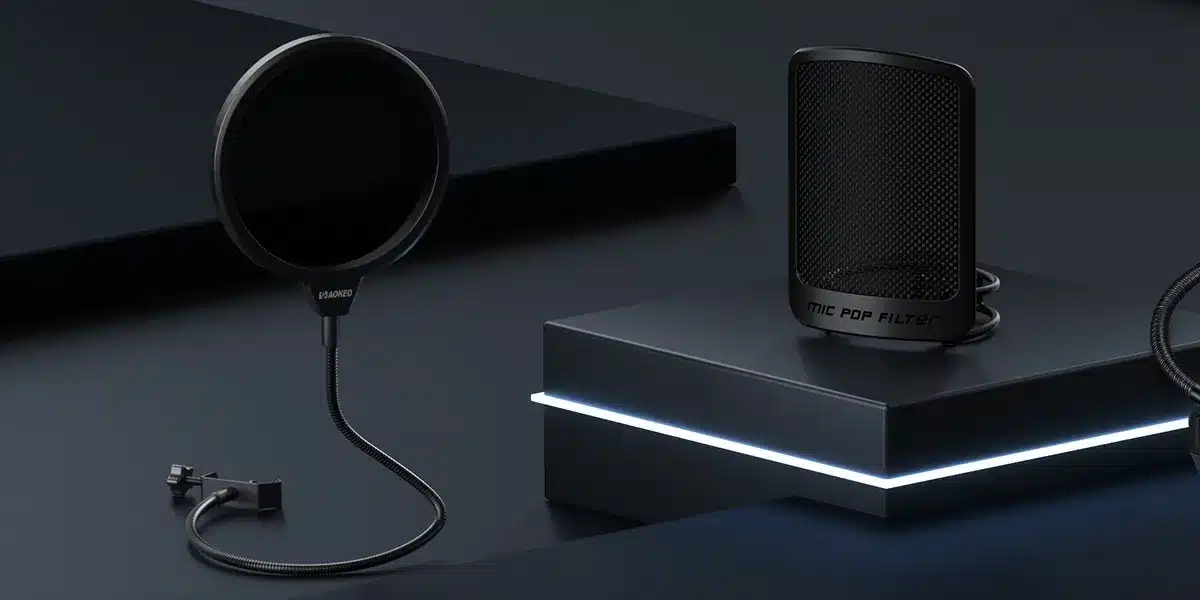
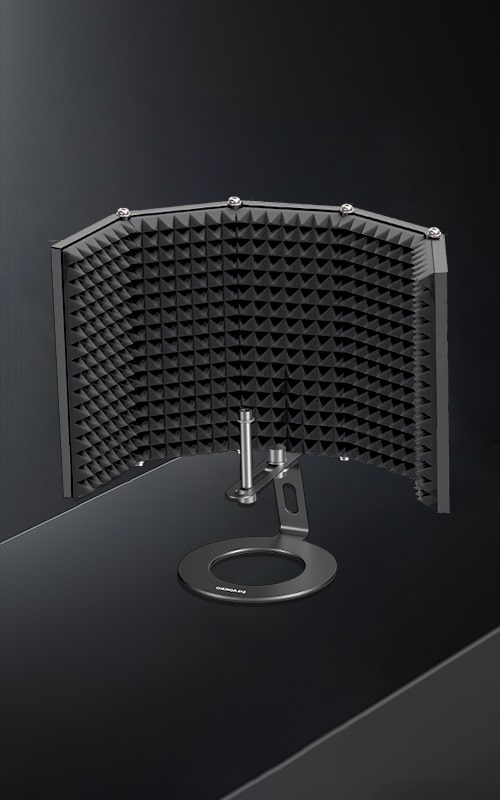
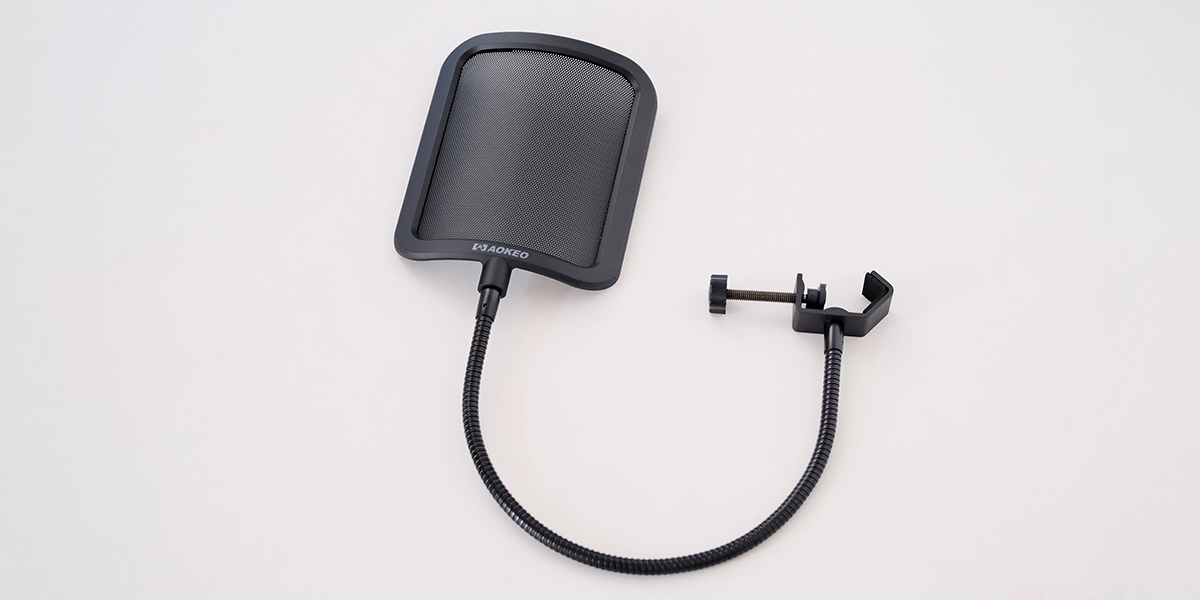
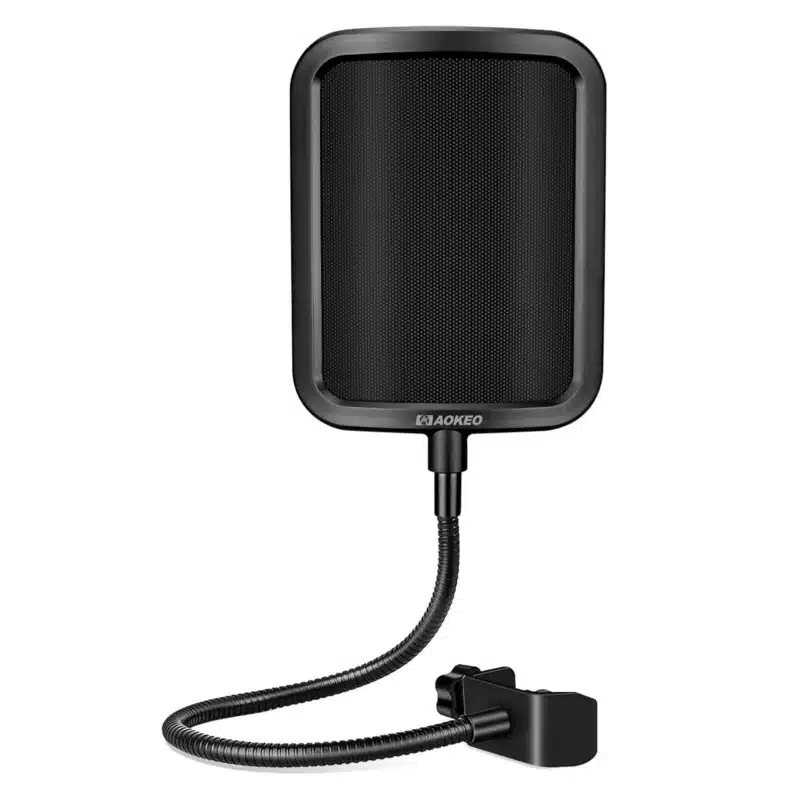
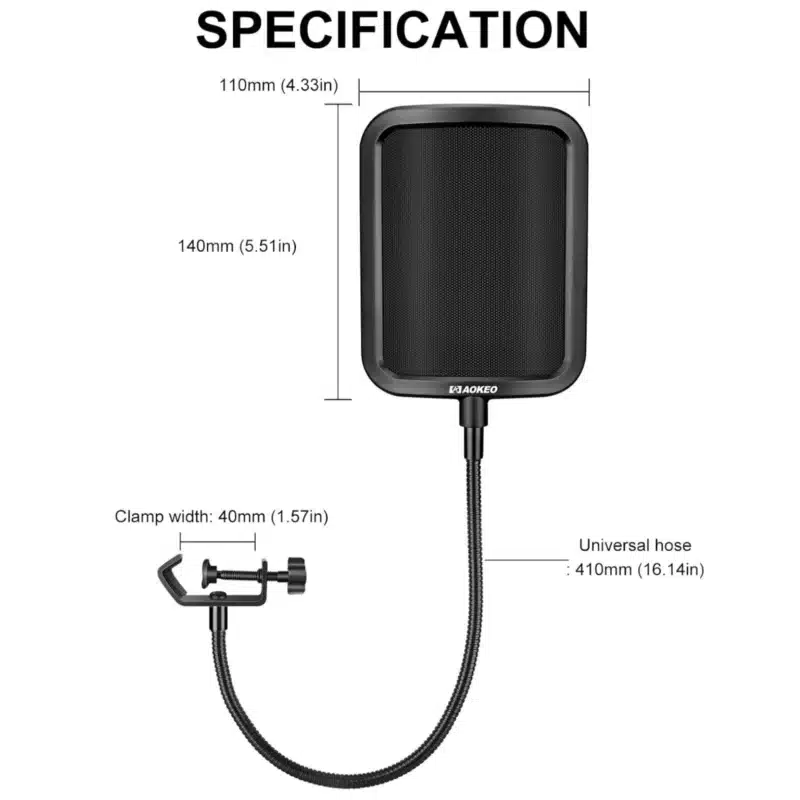
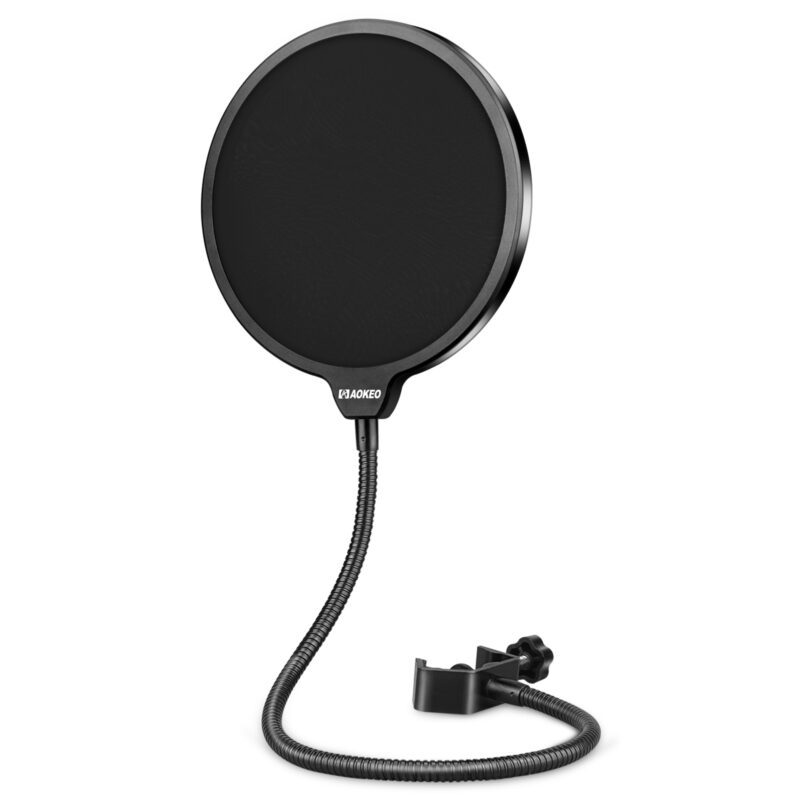
Aokeo Metal F-Pop Filter
The Aokeo Metal Pop Filter features a durable metal mesh layer that effectively blocks plosive sounds for clearer audio. Designed for mics like HyperX QuadCast, Blue Yeti, and more, it includes a flexible 360° gooseneck and a stable clip-on arm - perfect for streaming, podcasting, and vocal recording.


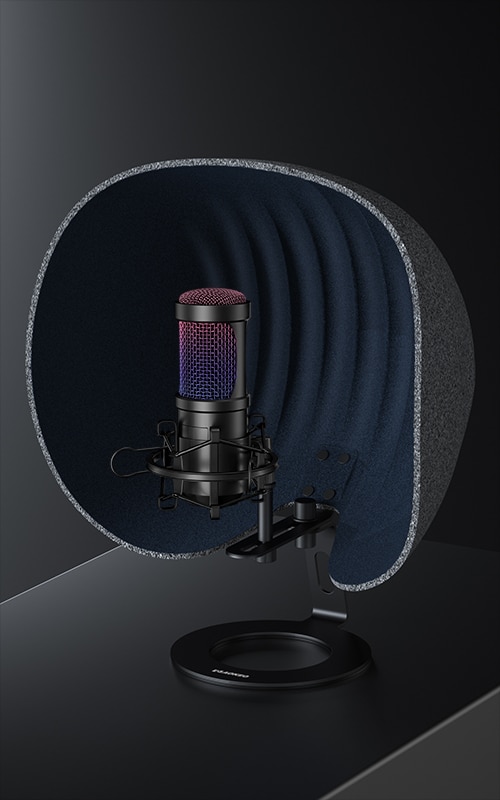
Aokeo O-Pop
Original price was: $19.99.$12.99Current price is: $12.99.