How Can I Make My Mic Sound Better in Just 5 Steps?
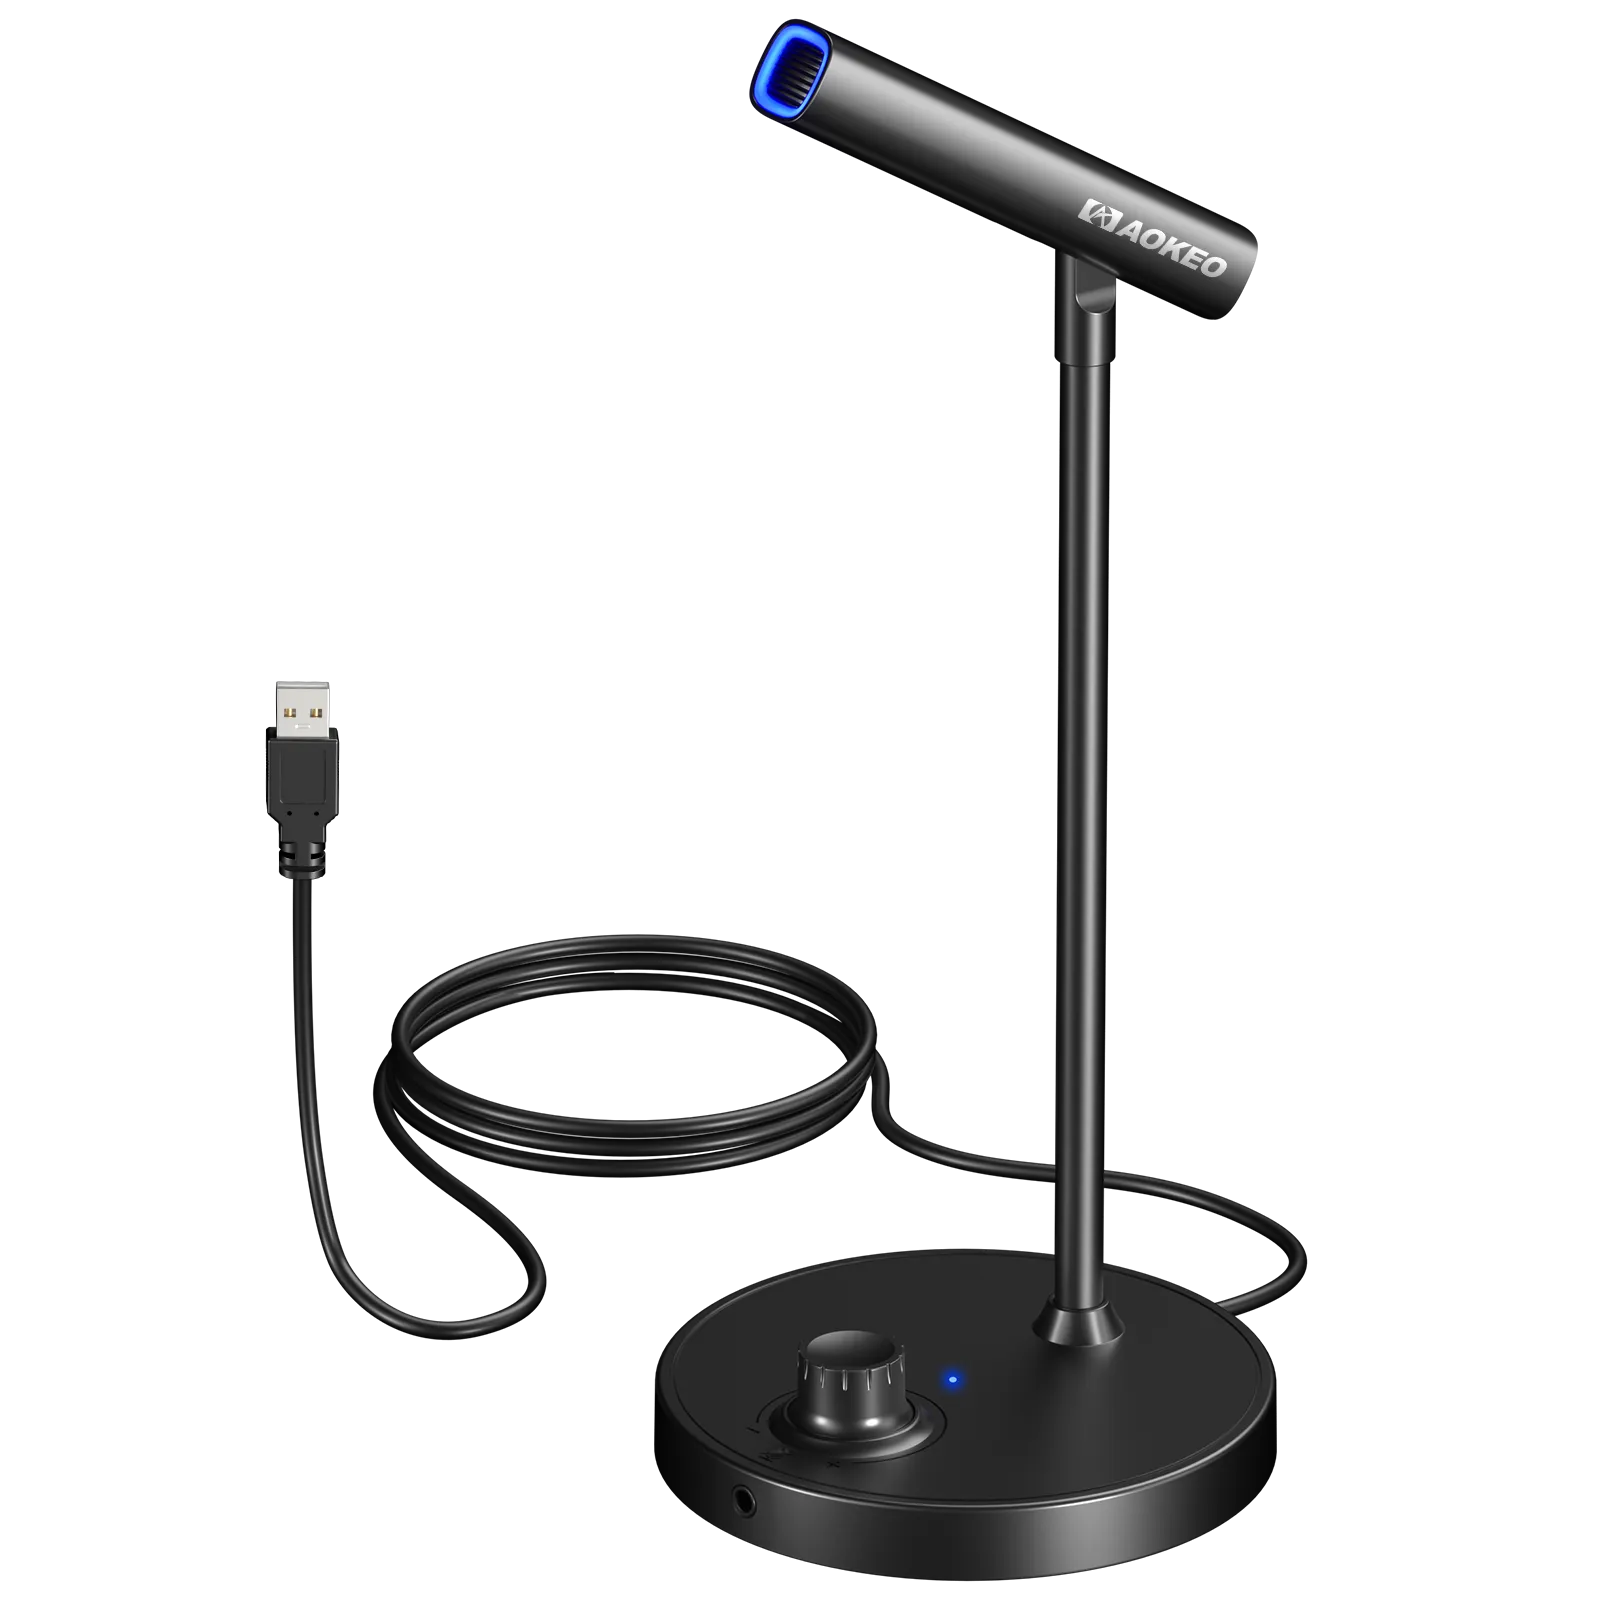
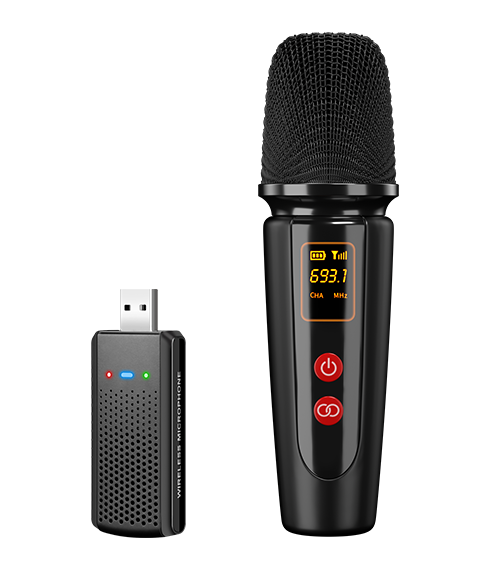
AK-1i USB Mic
$18.99
AK2 USB Conference Mic
$19.99
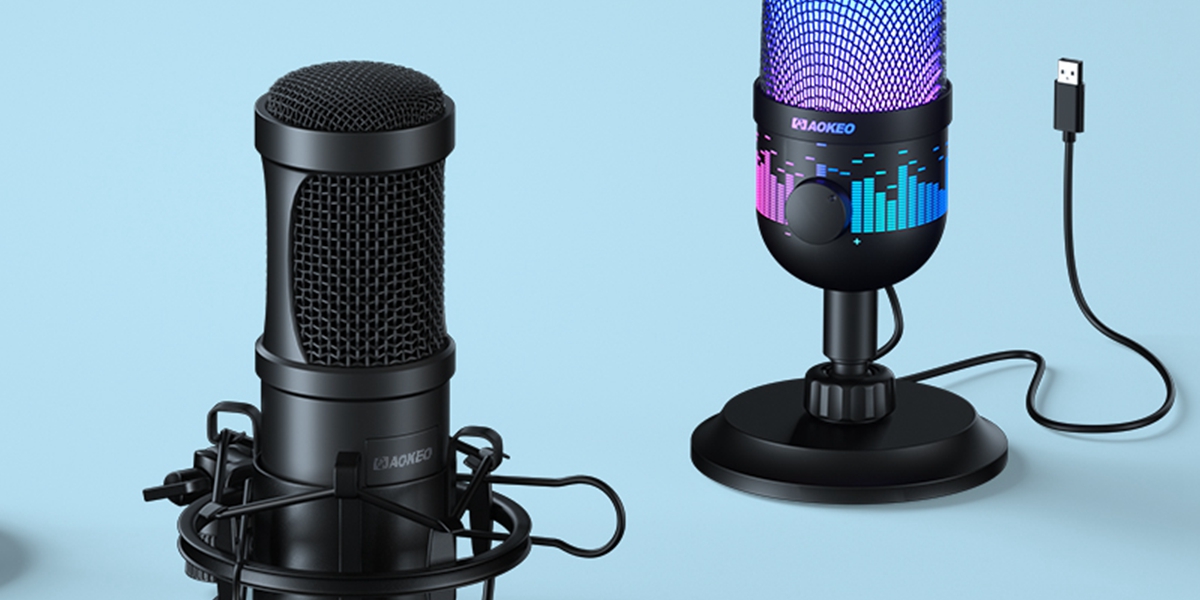
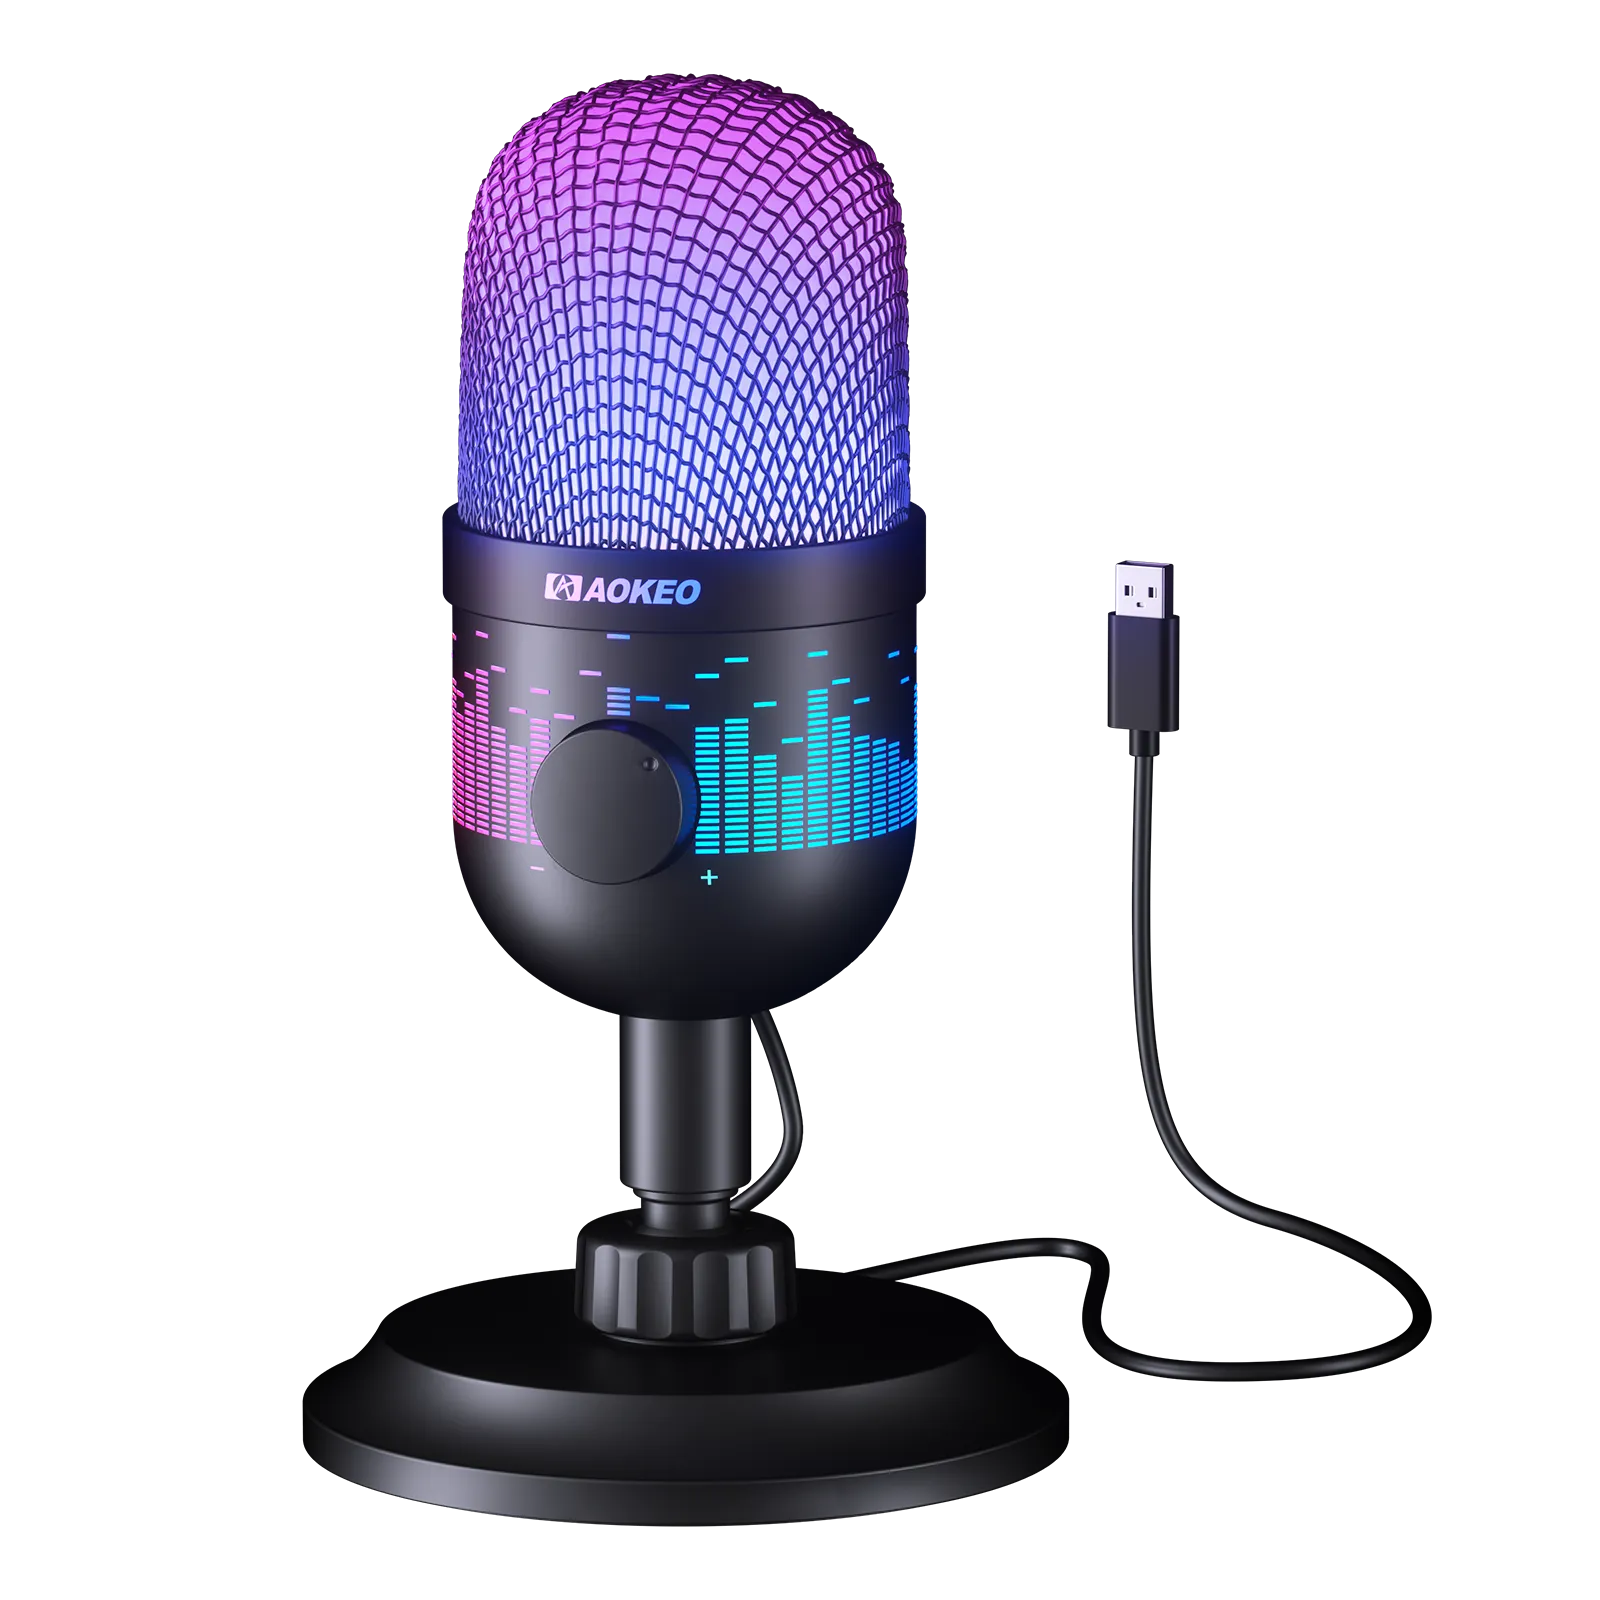
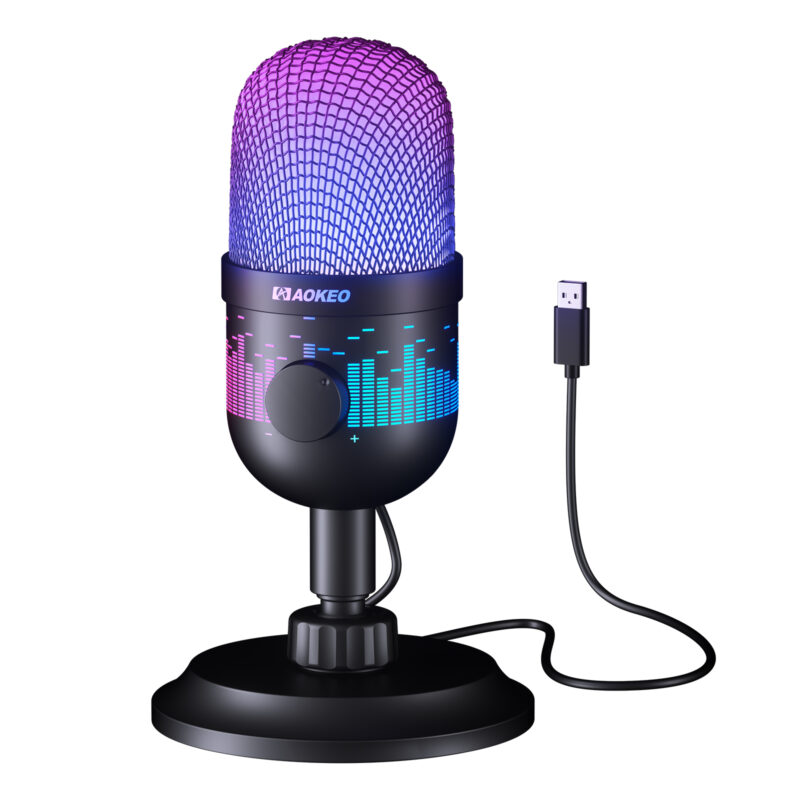
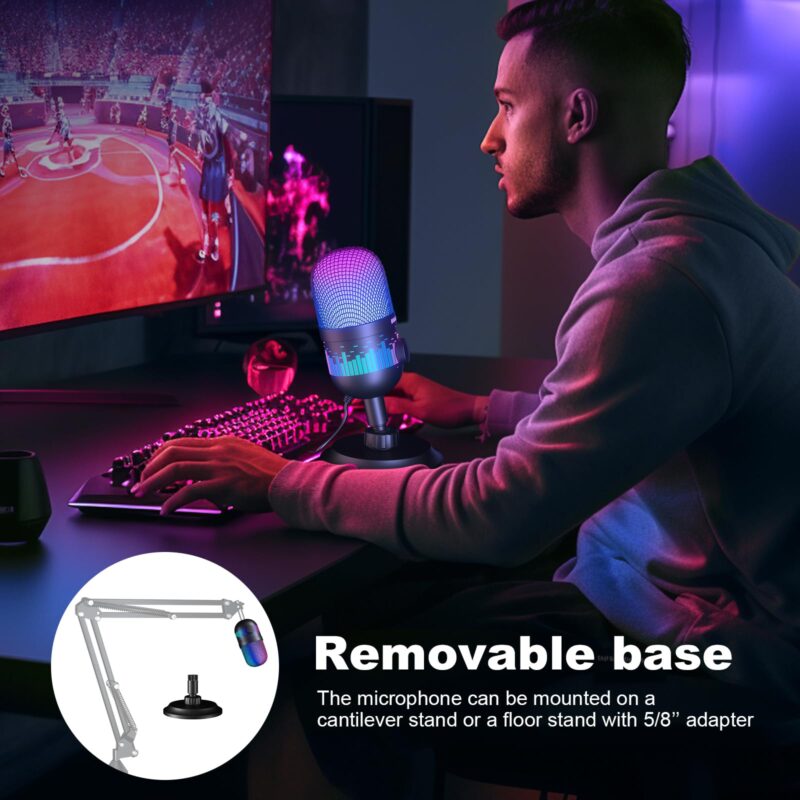
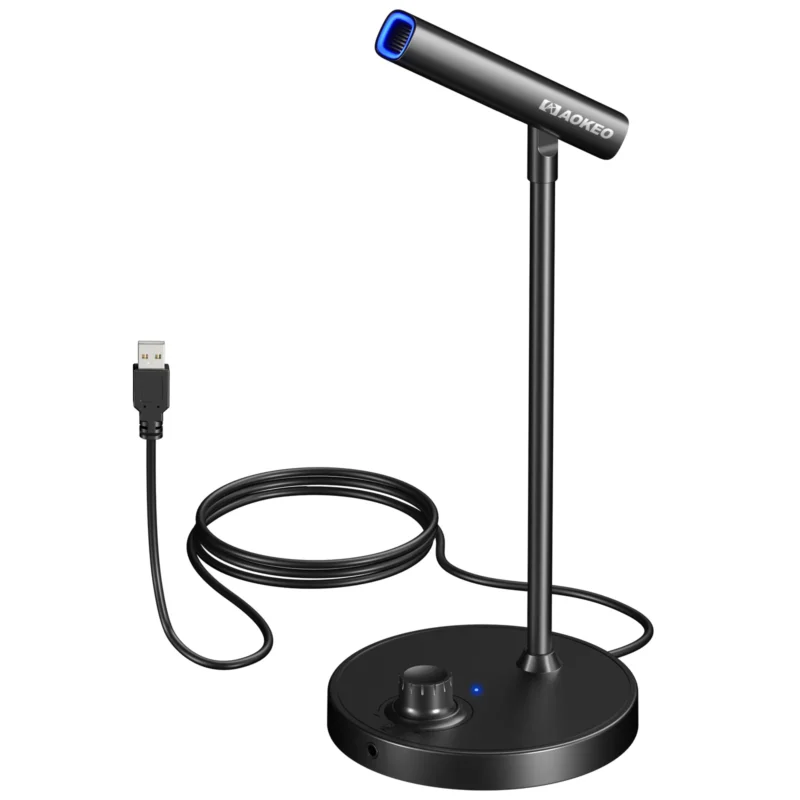
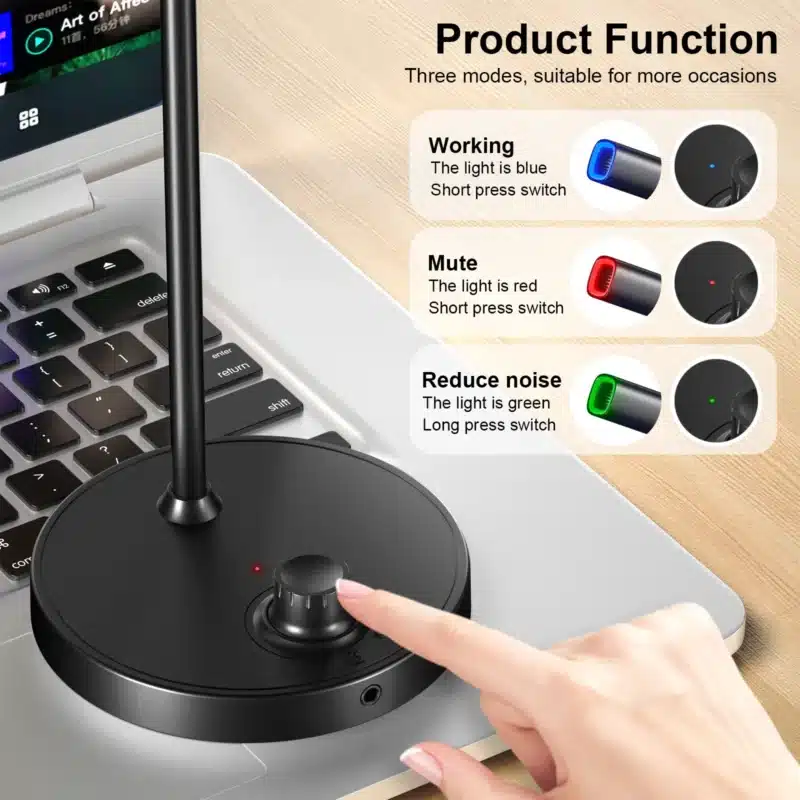
USB Computer Conference Microphone
Aokeo AK-2 USB Microphone is a plug-and-play mic designed for conference, gaming, recording, podcasting, and streaming. It features convenient volume control buttons and delivers clear, detailed sound. Compatible with PC, Mac, PS5, and PS4, it's ideal for YouTube, online meetings, and content creation on laptops and desktops.


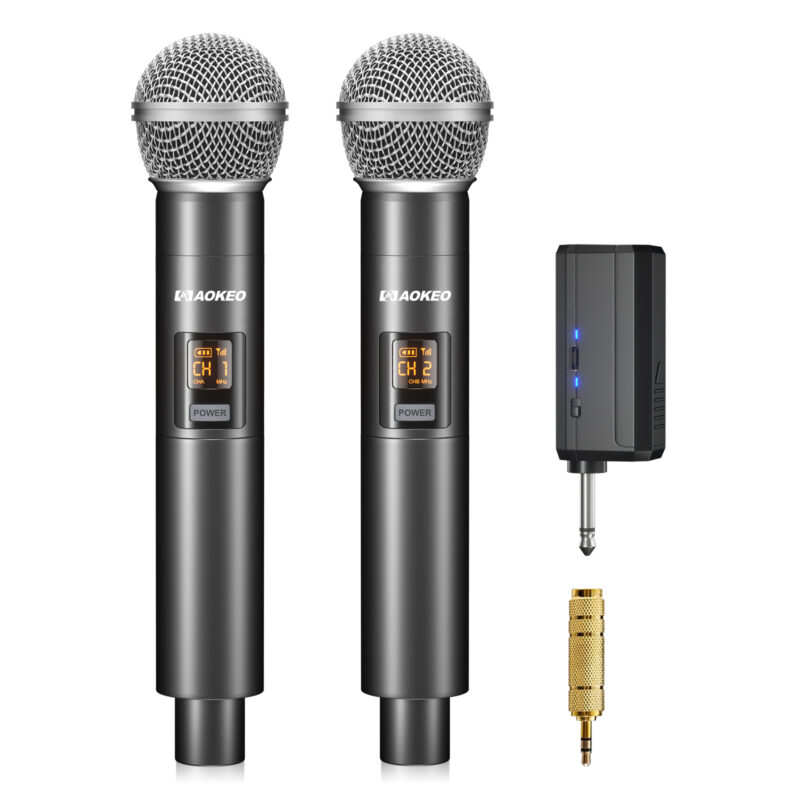
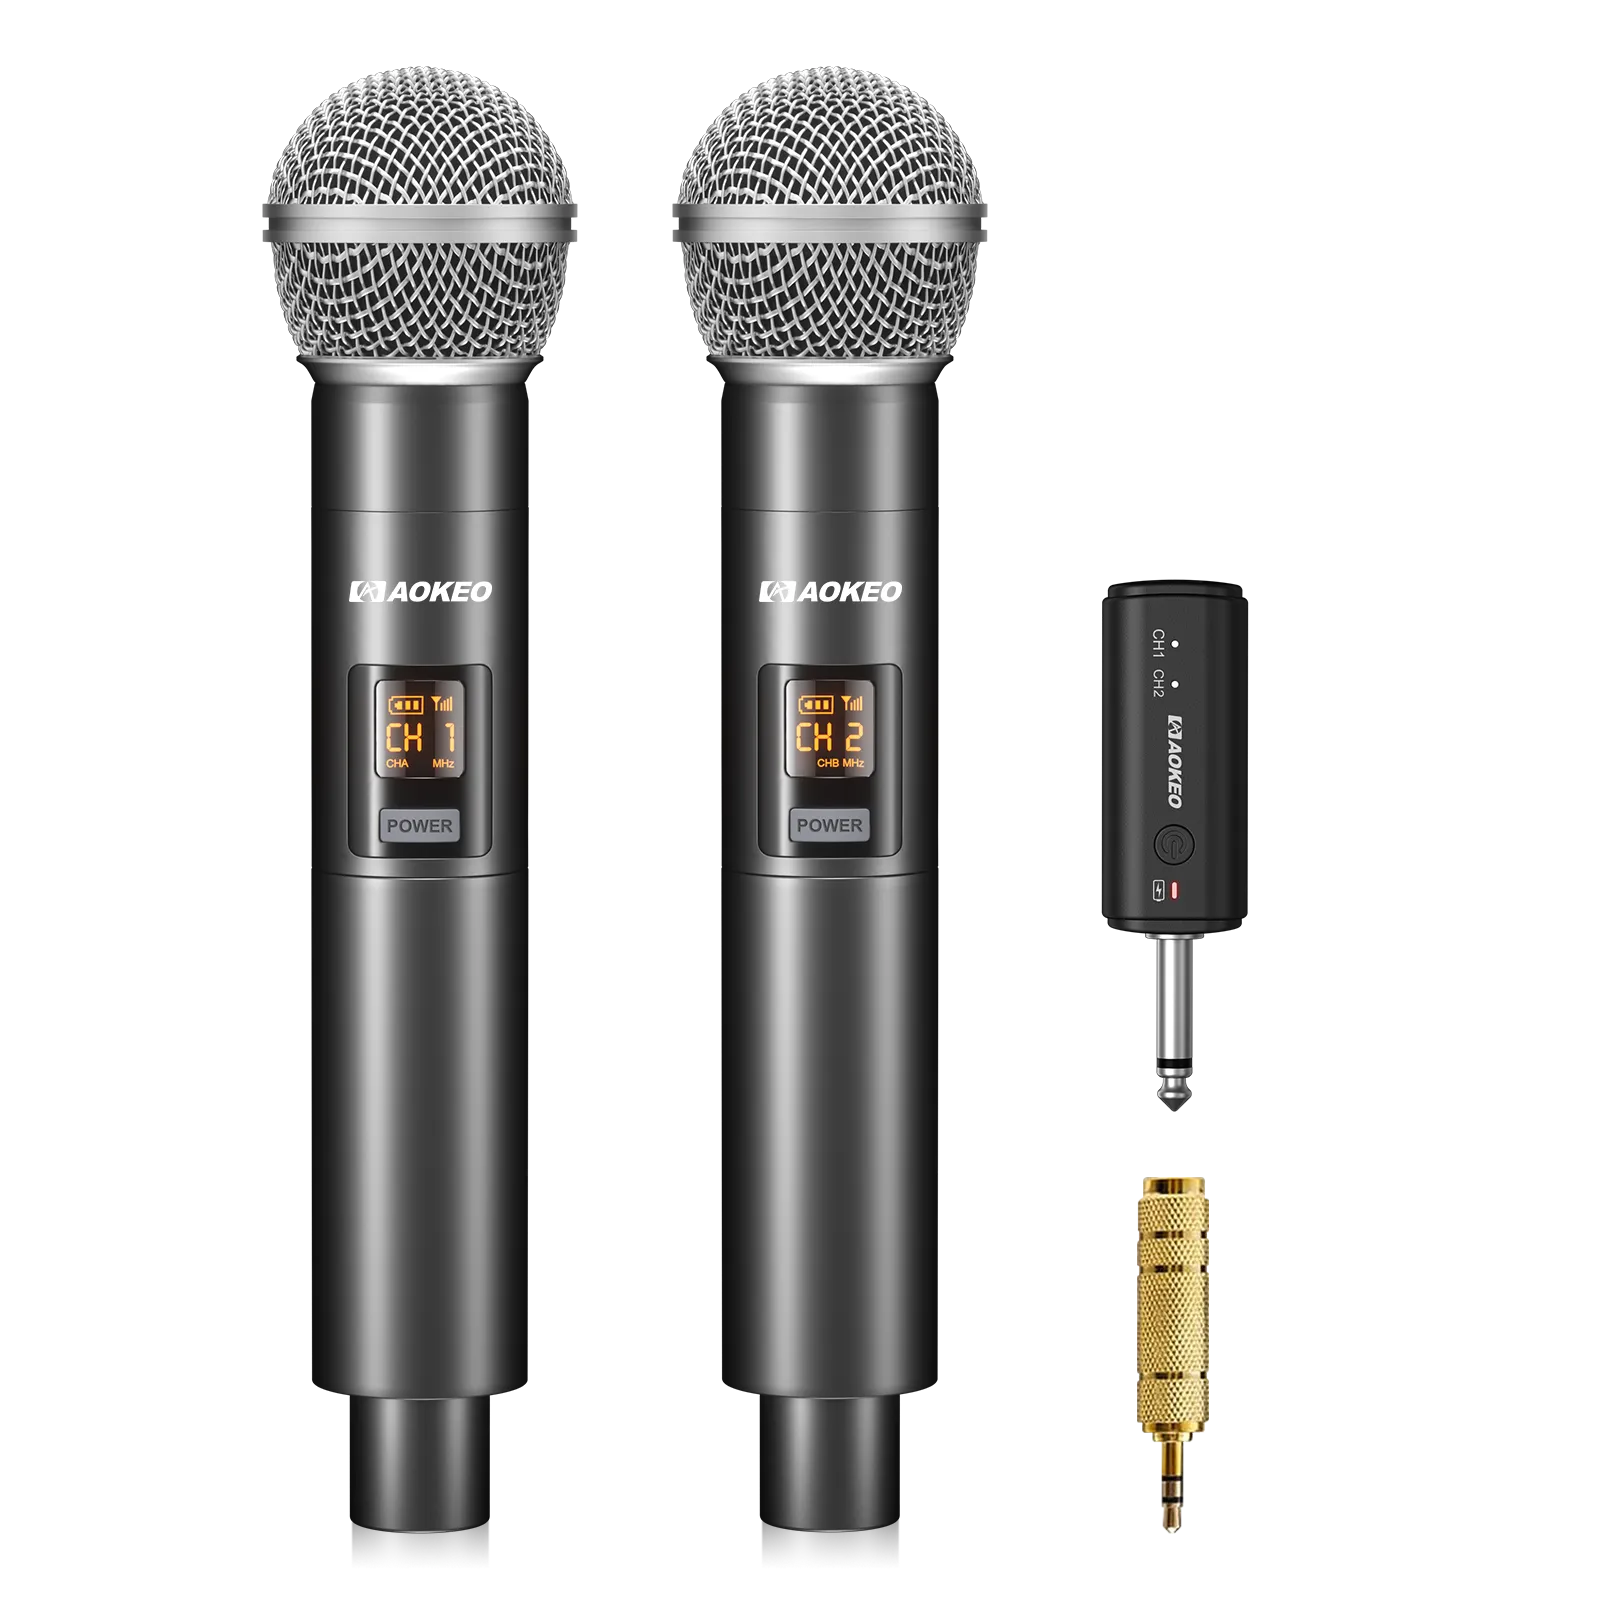
Aokeo PG58-2
Original price was: $28.99.$24.99Current price is: $24.99.
Aokeo PG58-2 Wireless Microphone offers a 160ft range and clear UHF audio transmission. Designed for mic input only, it features a durable metal handheld build and a rechargeable receiver with up to 4 hours of battery life. Ideal for karaoke machines, amplifiers, speakers, mixers, and church events.
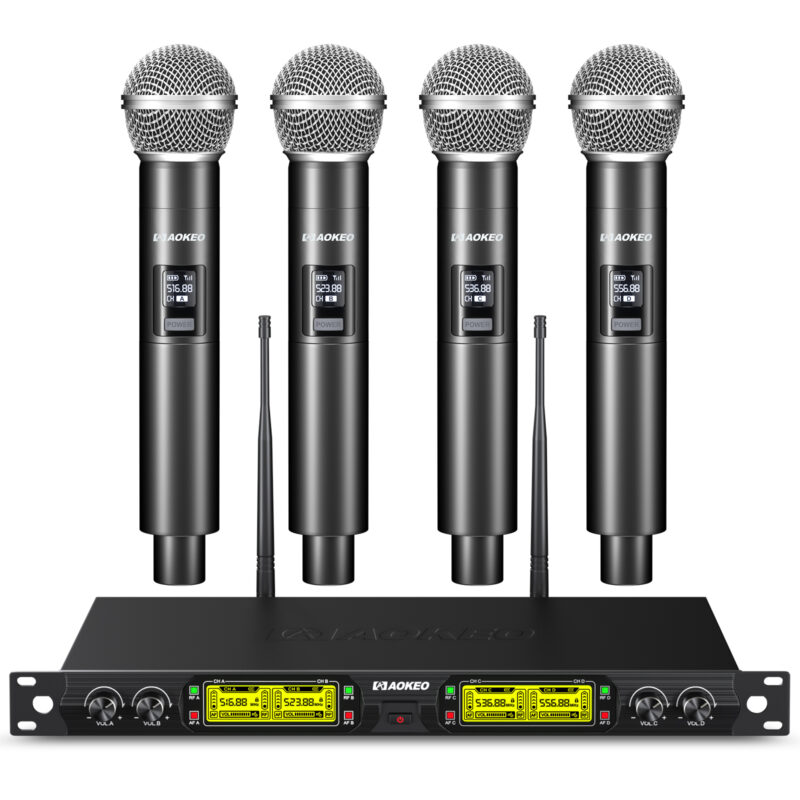
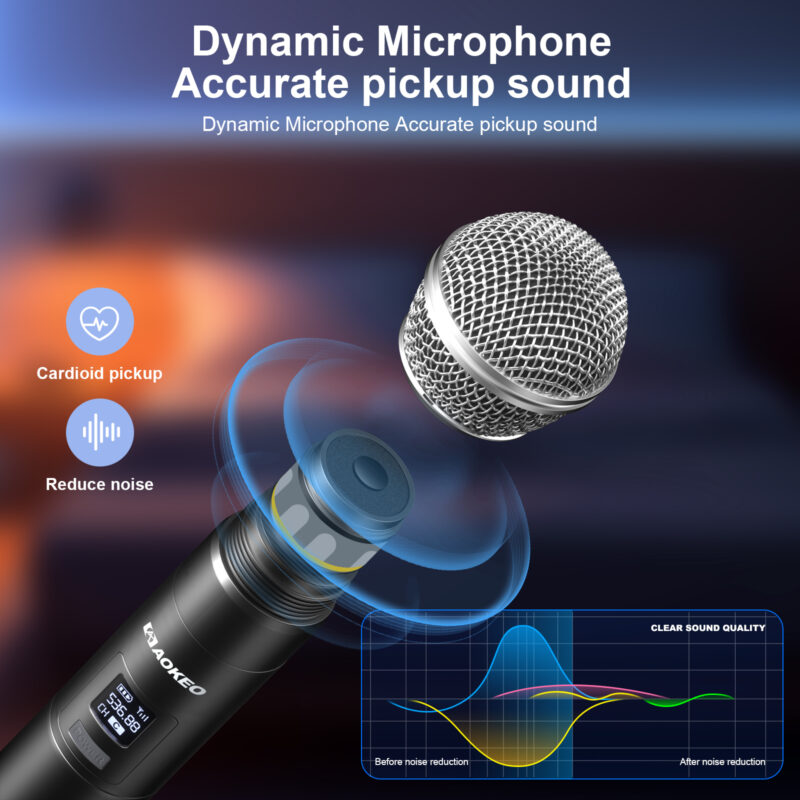
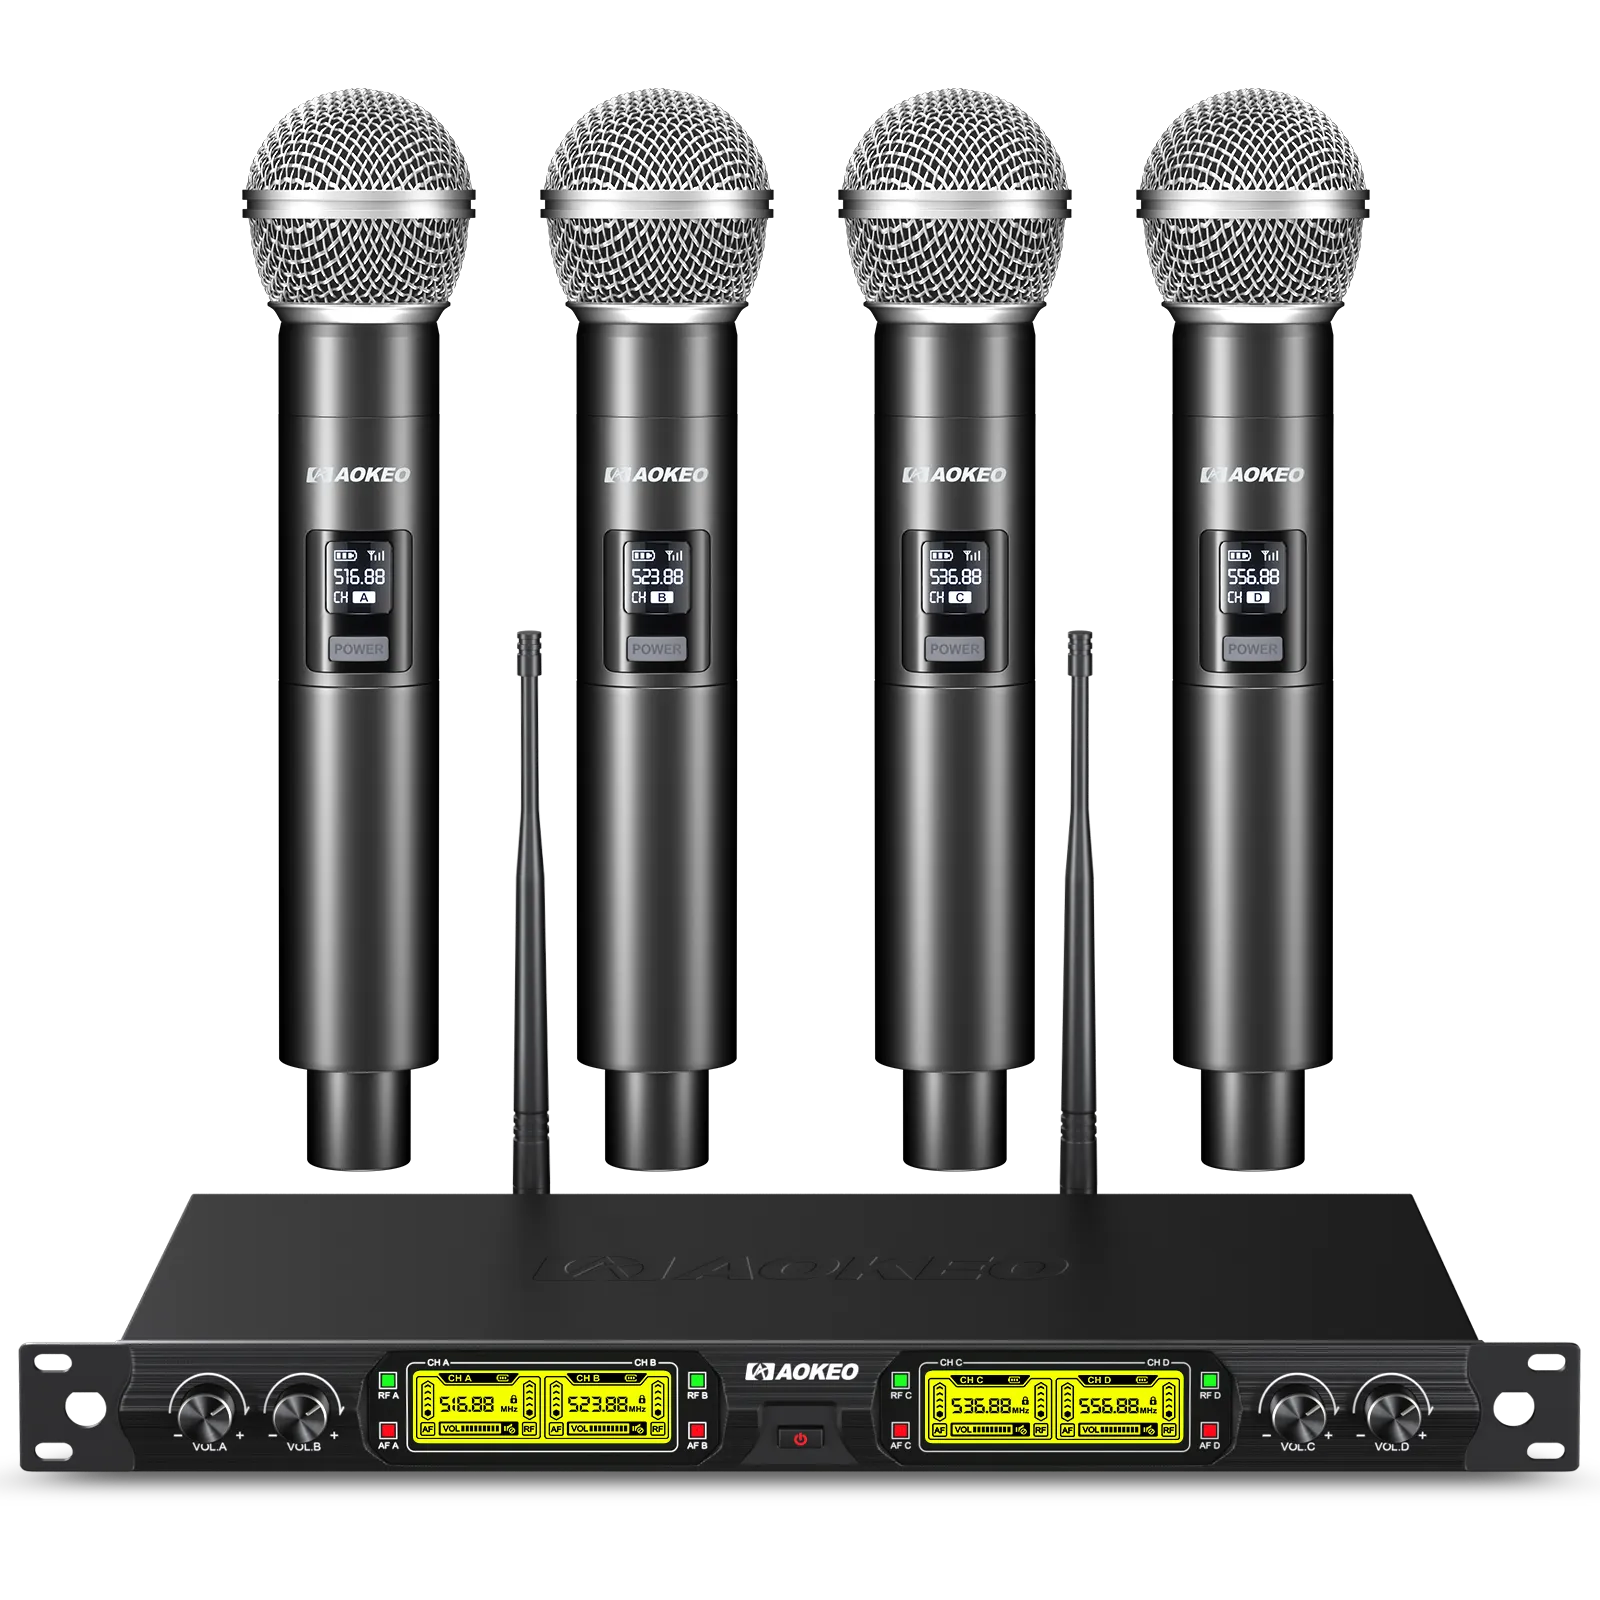
Aokeo V400
$89.99
Aokeo V400 Wireless Microphone system
The Aokeo 4-Channel UHF Wireless Microphone System includes four handheld dynamic mics and a sturdy metal receiver. Ideal for karaoke, singing, weddings, parties, speeches, and church events, it delivers clear, stable sound with reliable wireless performance. Perfect for multiple users, ensuring seamless audio for any occasion.
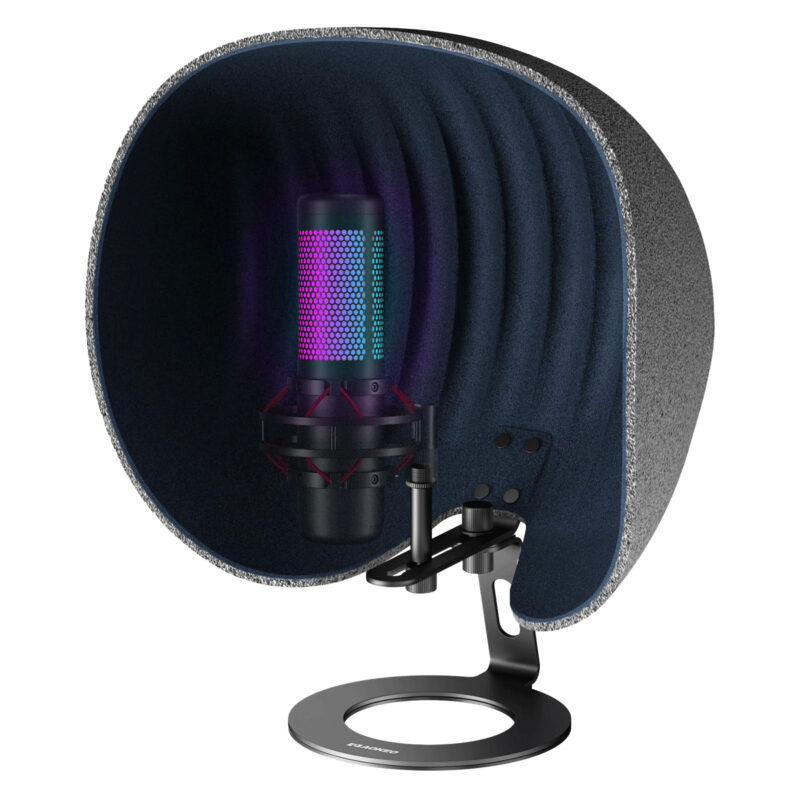
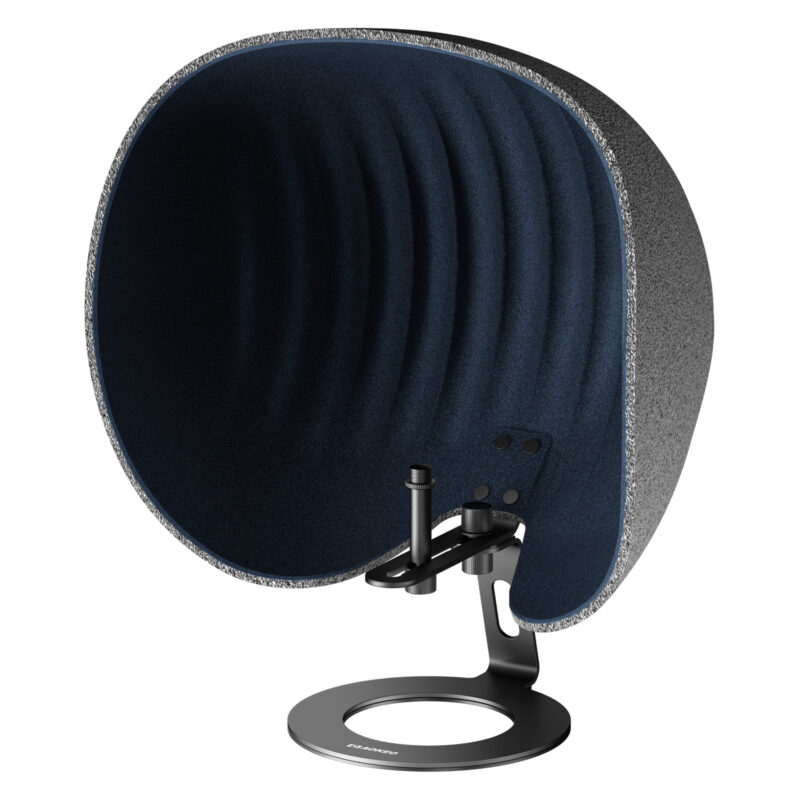
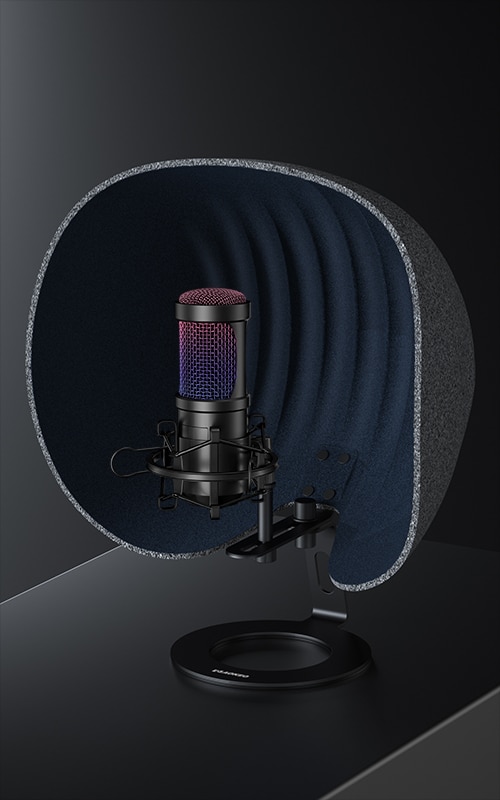
Aokeo Shell Shape Acoustic Shield
Original price was: $58.99.$52.99Current price is: $52.99.
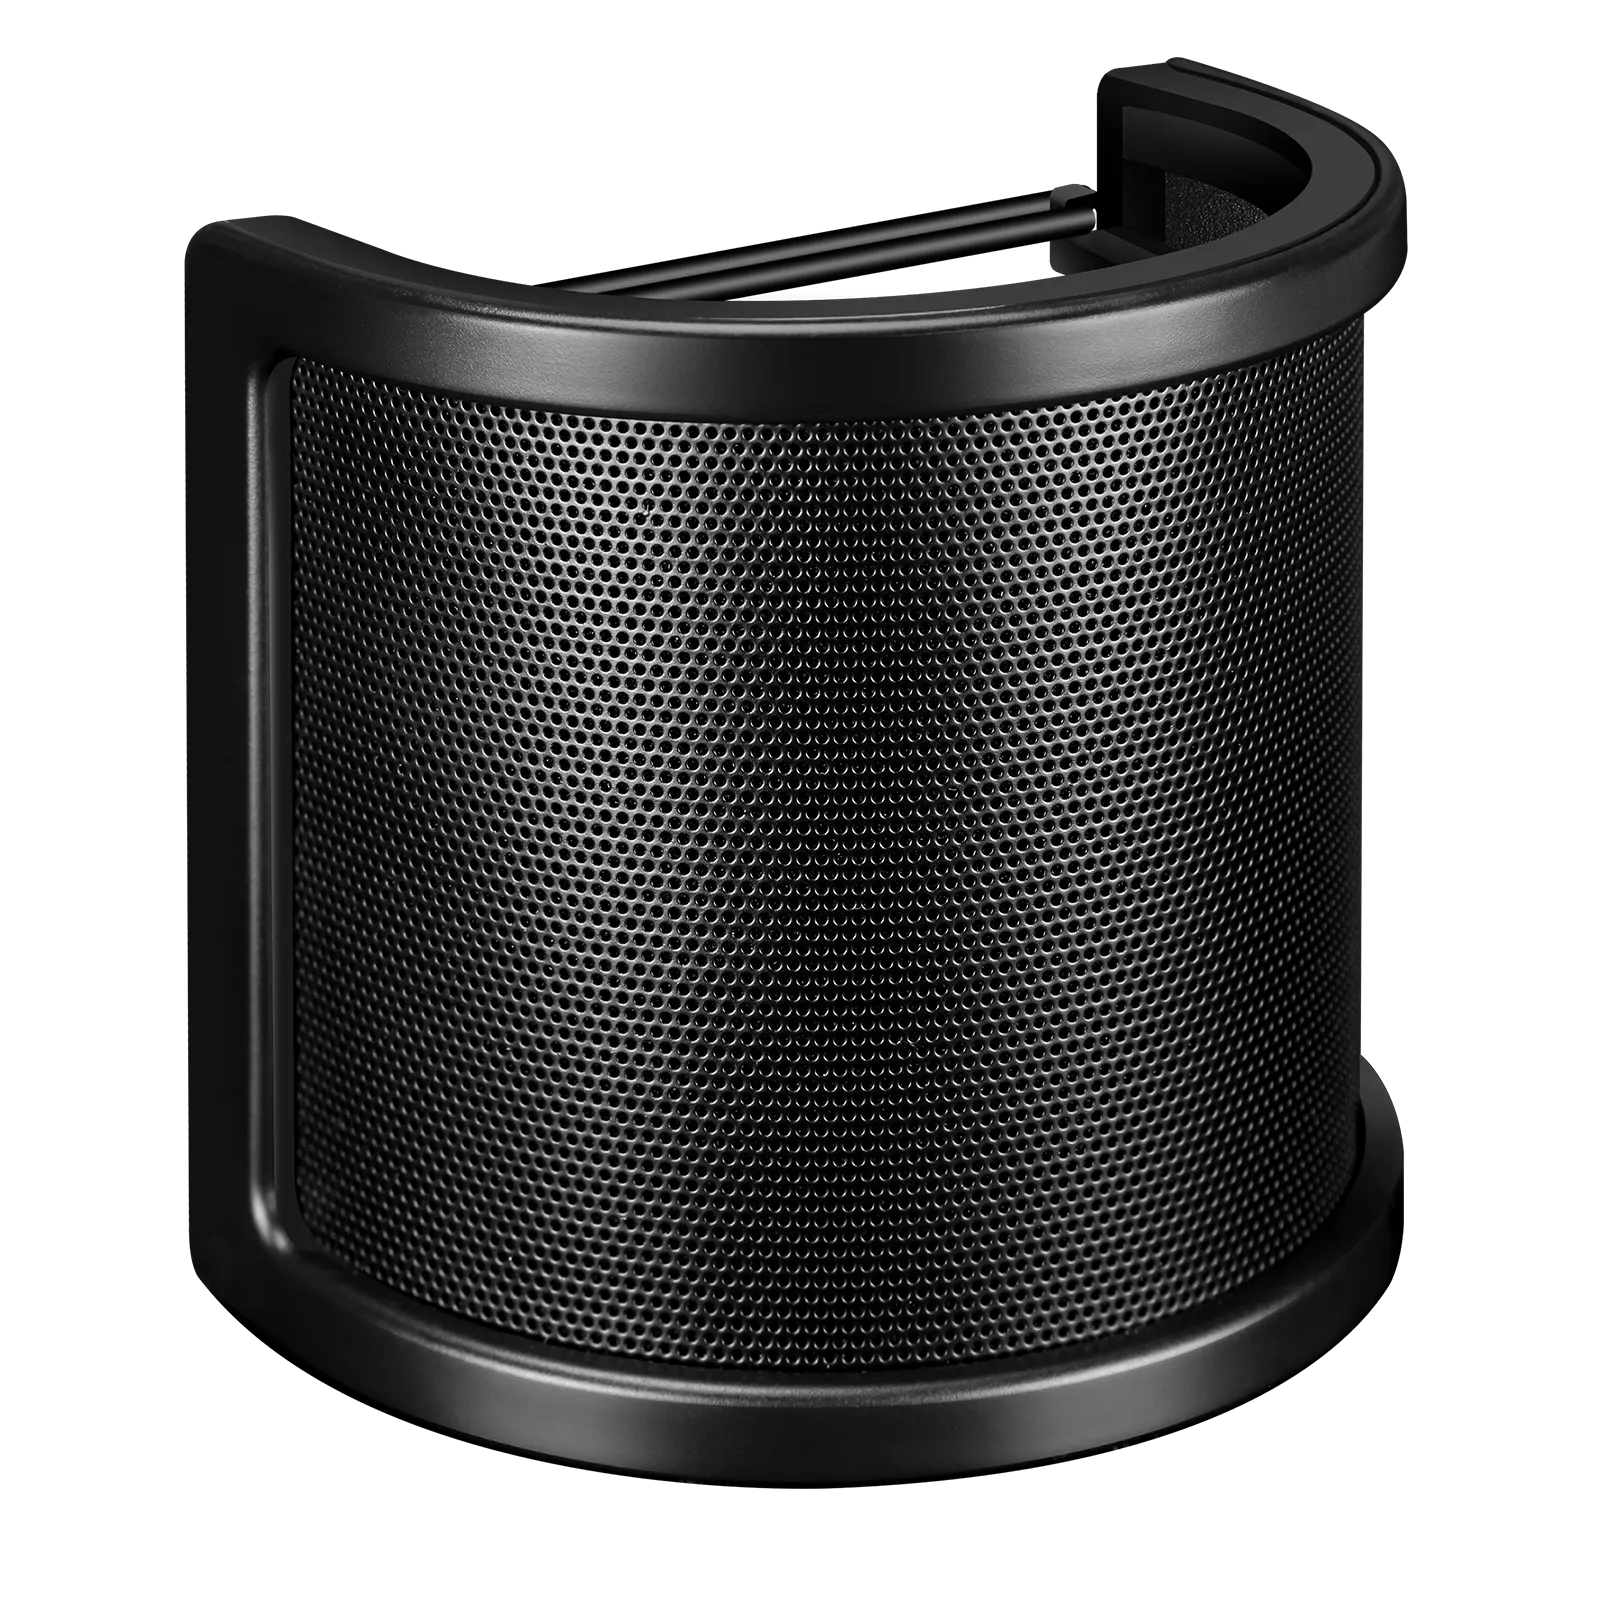
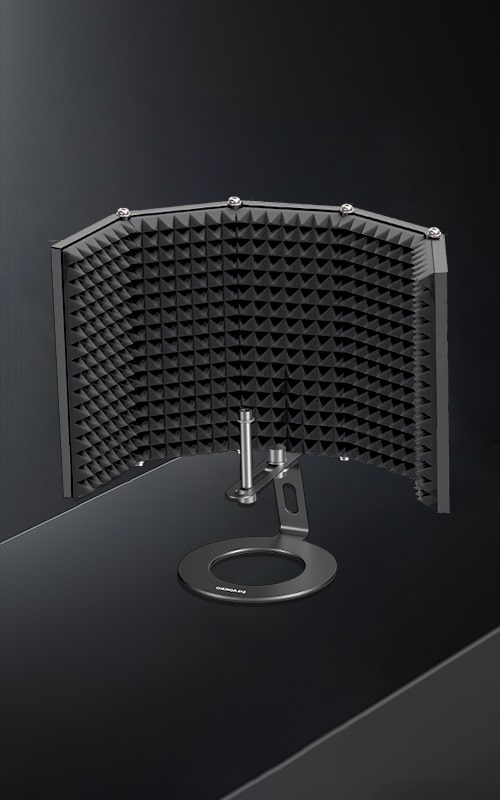
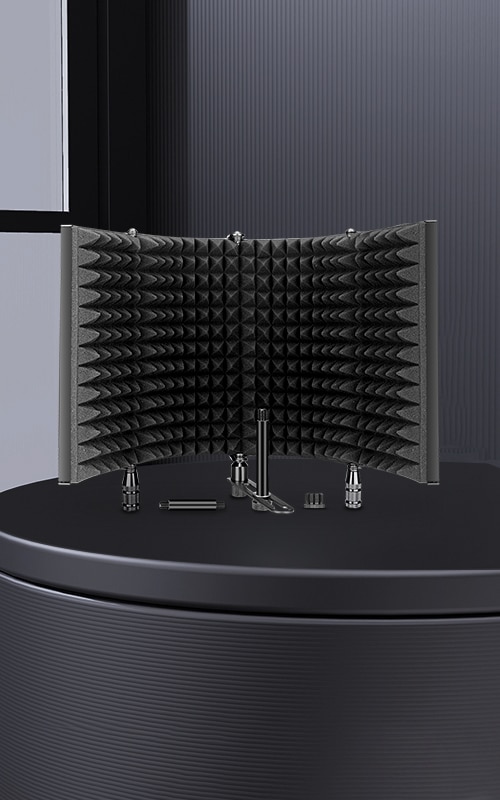
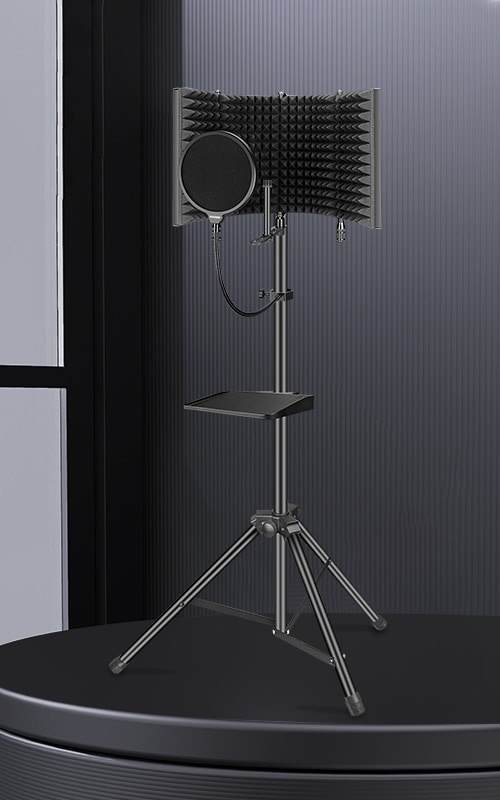
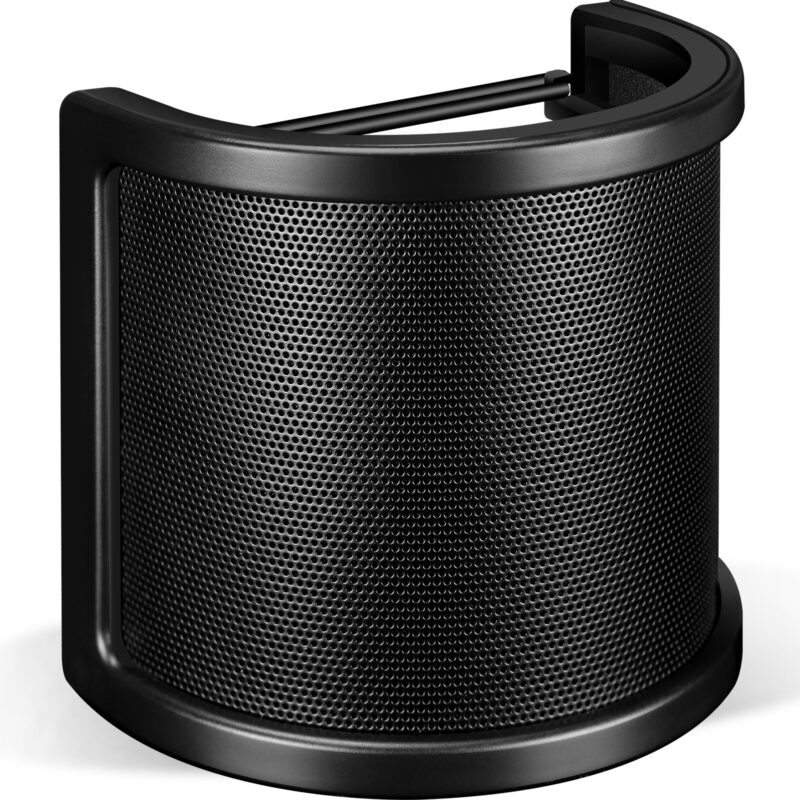
AO-505 Mic Shield
Original price was: $36.99.$33.99Current price is: $33.99.
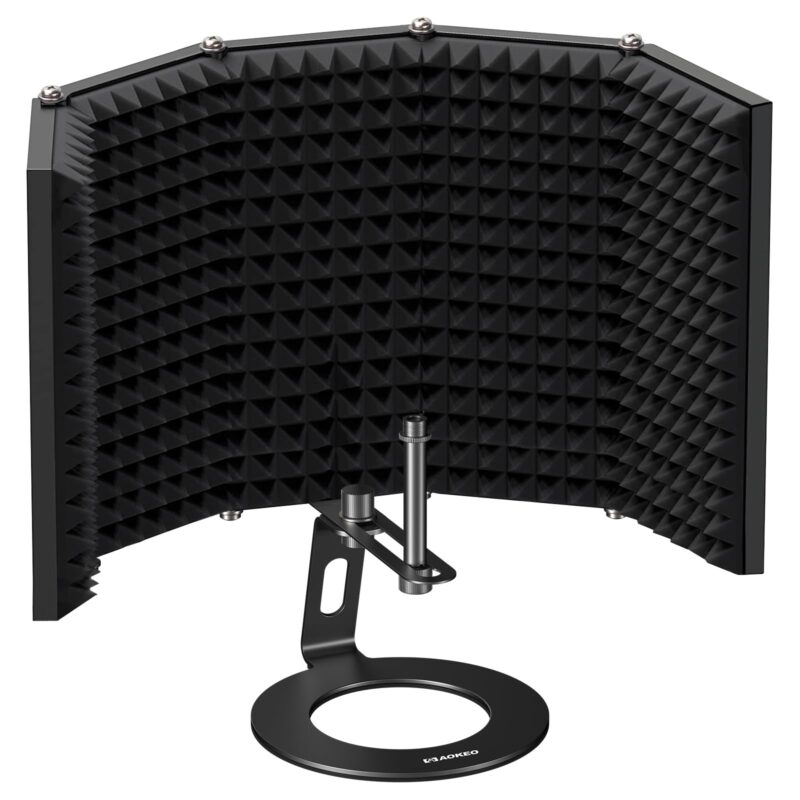
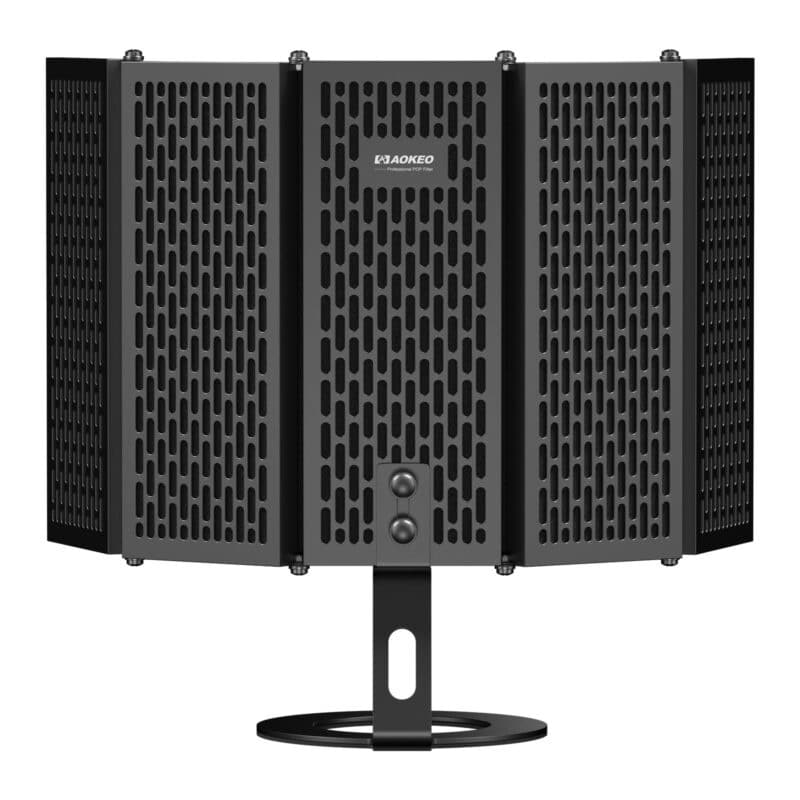
Professional Foldable Microphone Isolation Shield
Aokeo AO-505 Microphone Isolation Shield features high-density soundproof foam and a ventilated metal back panel to reduce noise for clearer recordings. Ideal for studios, podcasts, singing, and broadcasting, it ensures professional sound quality. Includes a desktop stand for easy setup.


AO-504 Mic Shield
Original price was: $37.99.$33.99Current price is: $33.99.
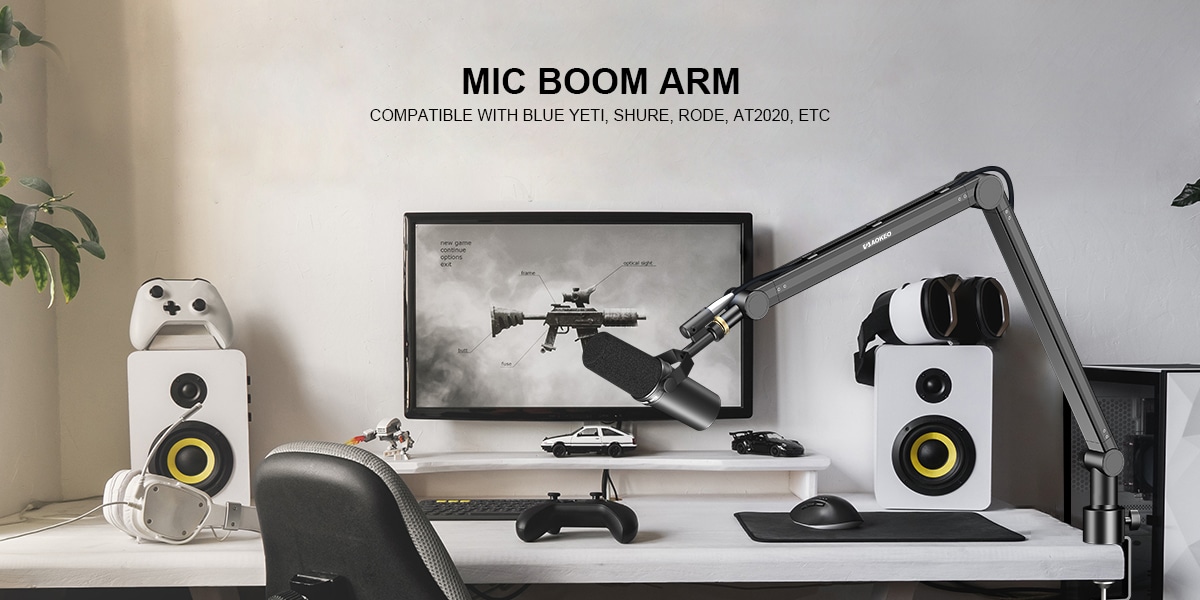
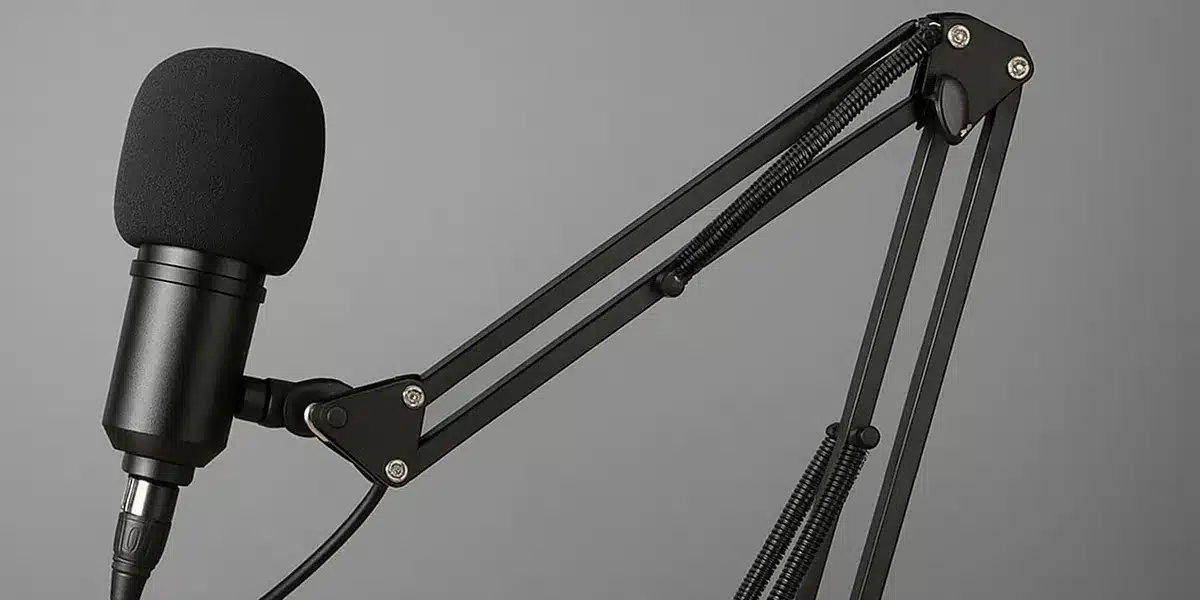
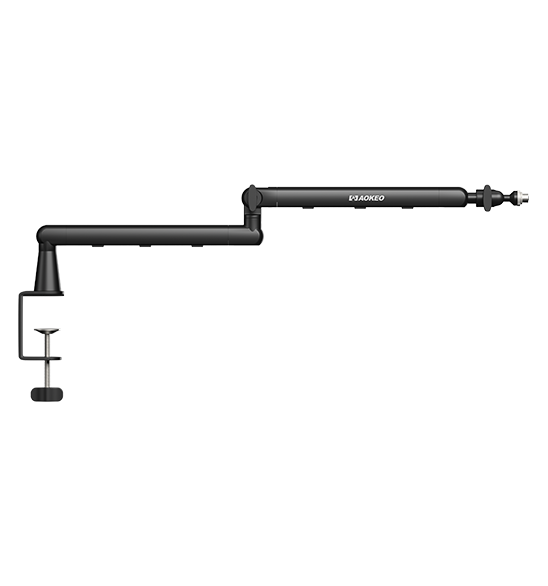
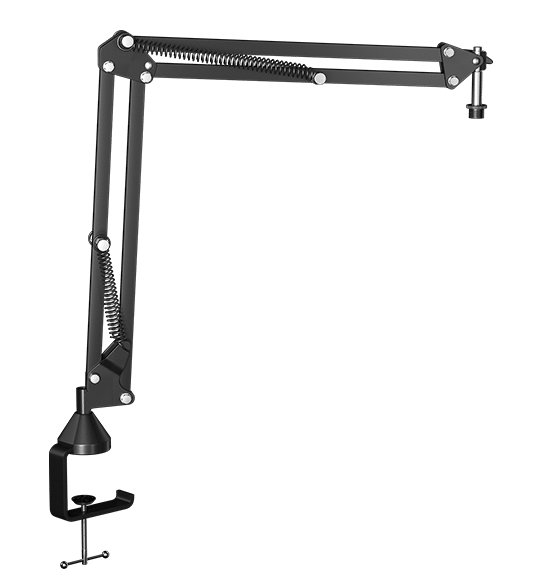
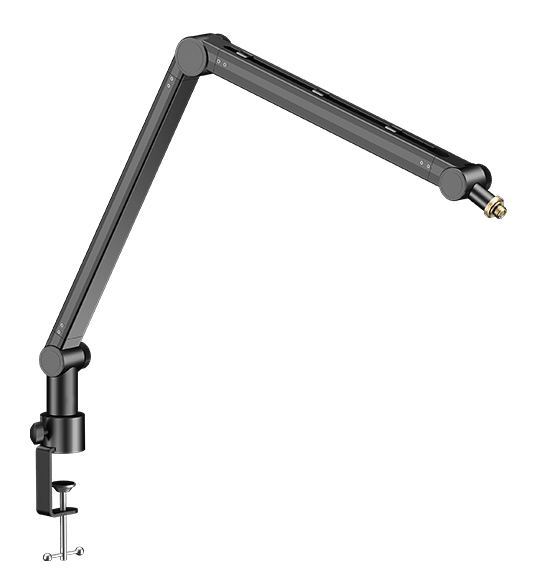
AK-48 Mic Arm
Original price was: $38.99.$35.99Current price is: $35.99.
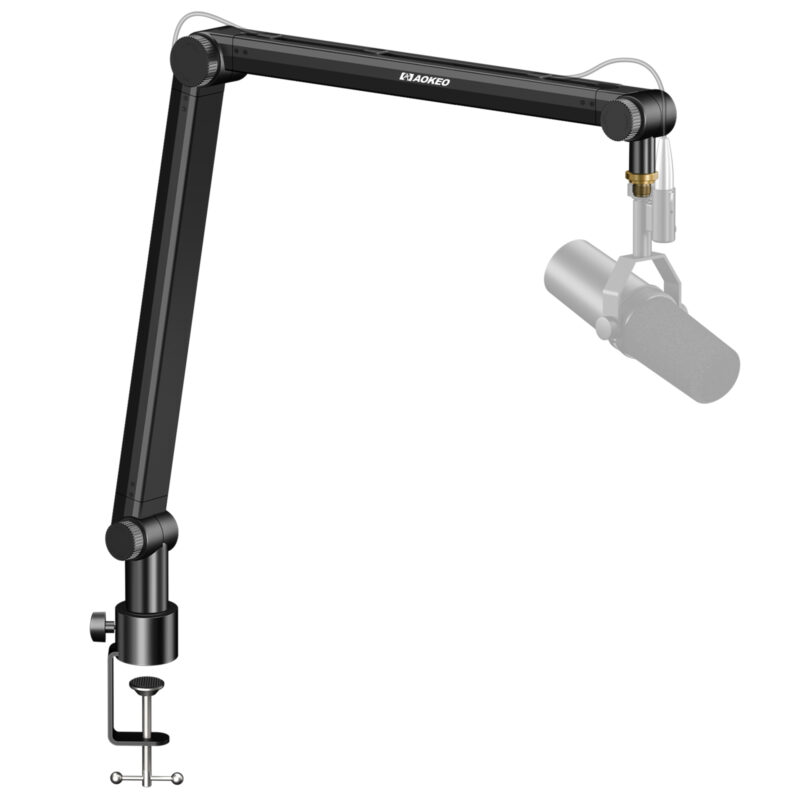
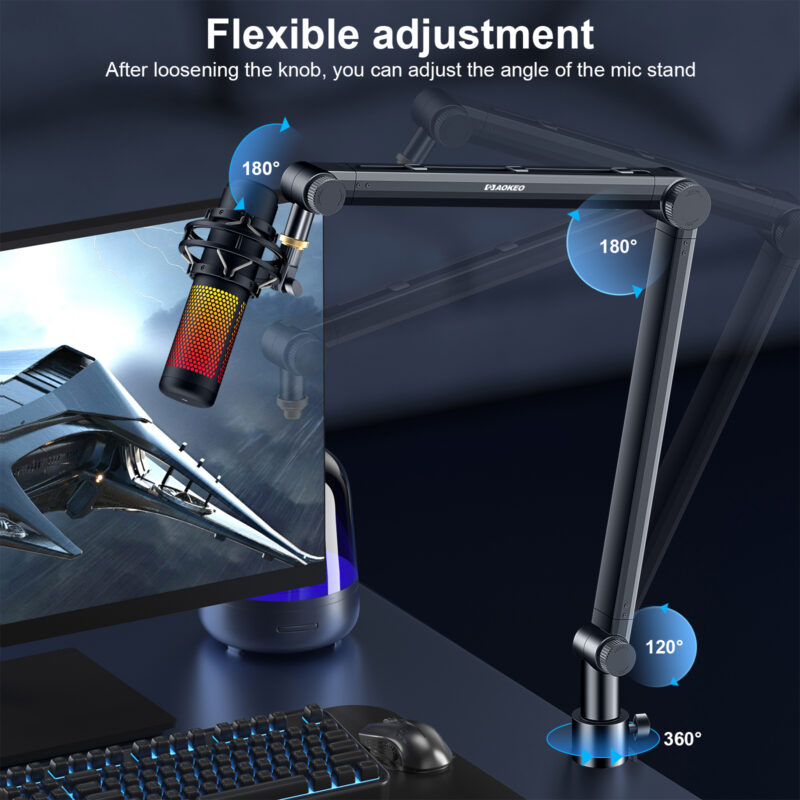
Flexible Microphone Stand With Angle Adjustment
Aokeo AK-48 Flexible Microphone Boom Arm offers 360° adjustability for optimal mic placement, a space-saving cable holder, and dual suspension springs for stability. Its foldable design ensures easy storage, while the universal compatibility fits most mics. A must-have accessory for any radio or home recording studio.
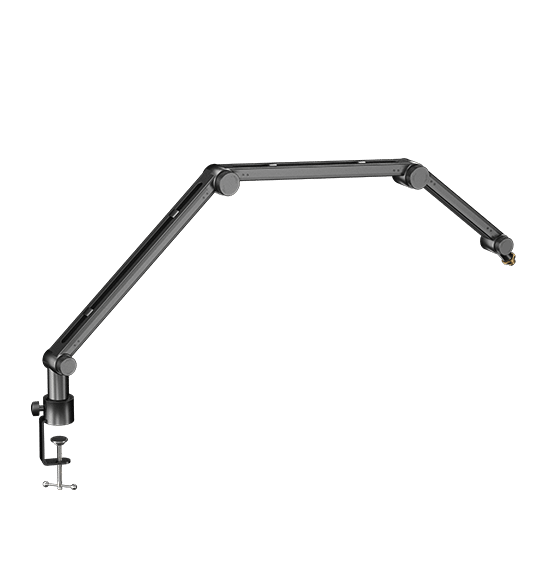
AK49 Mic Arm
Original price was: $48.99.$43.99Current price is: $43.99.
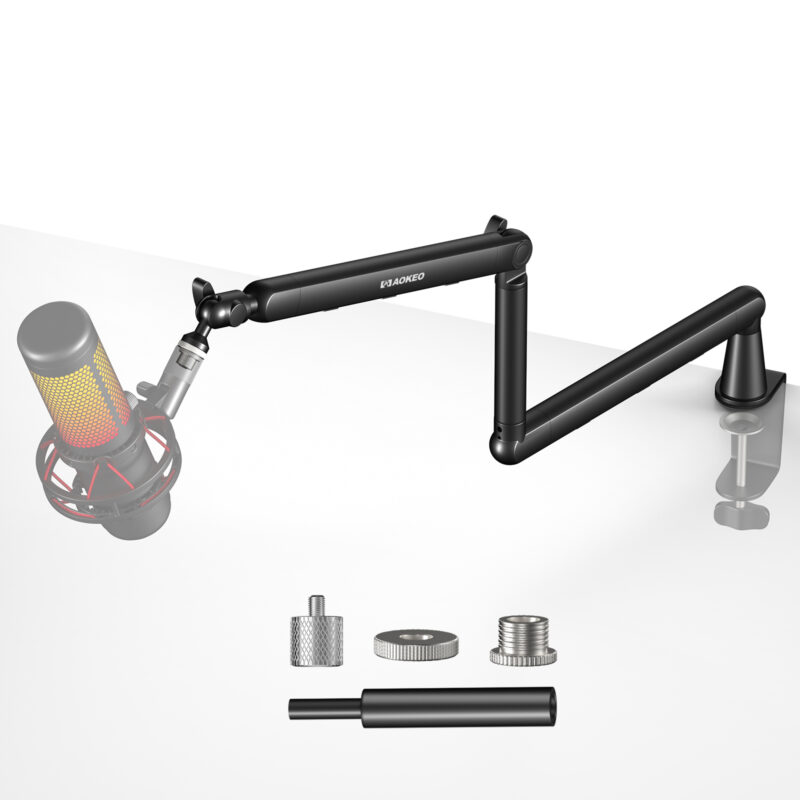
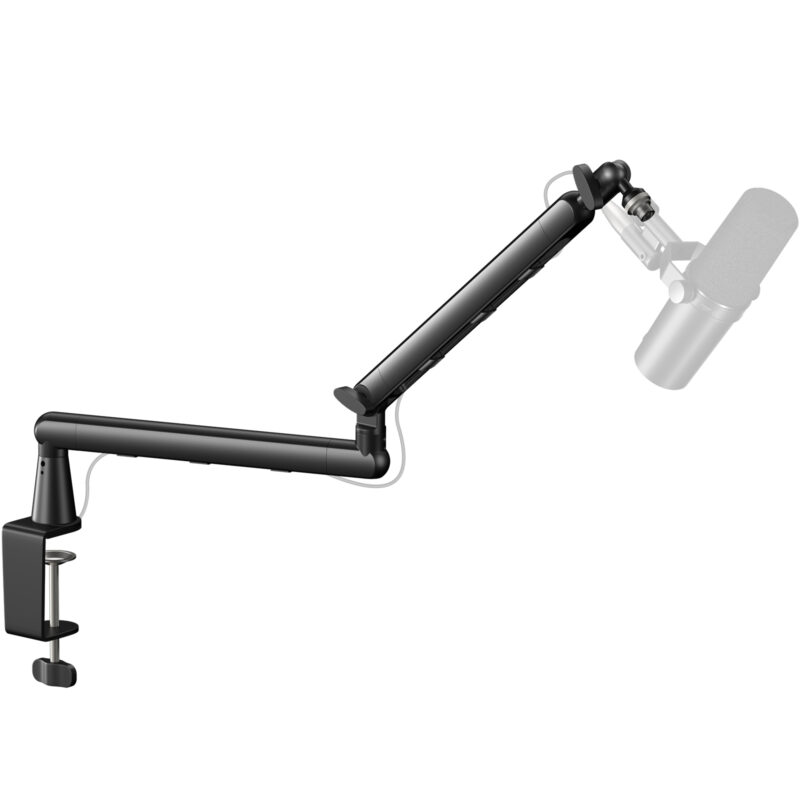
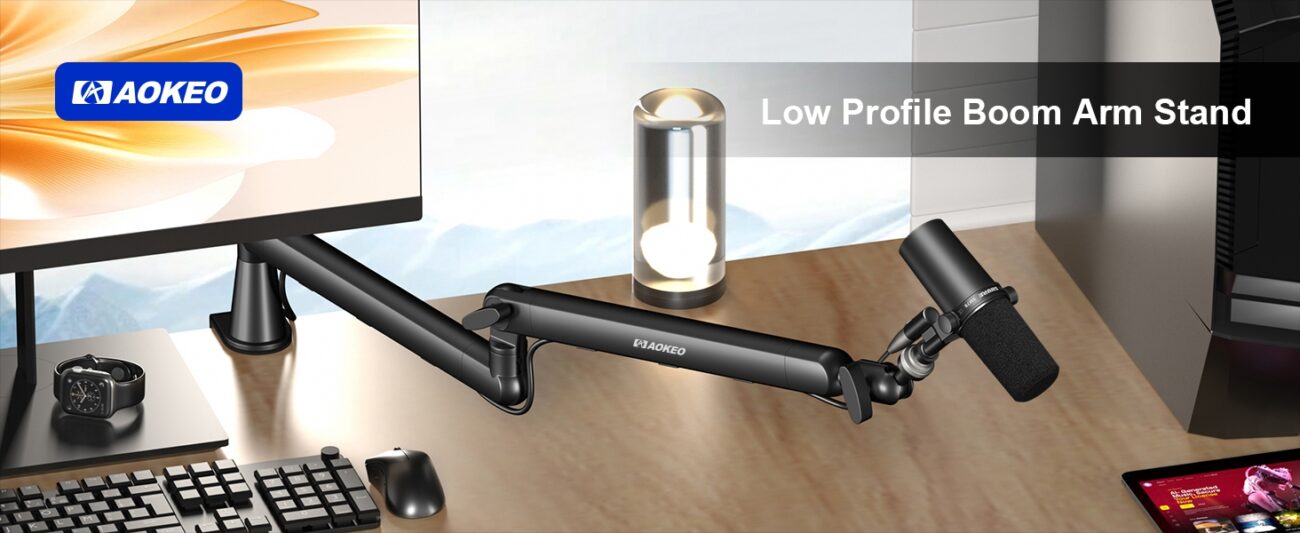
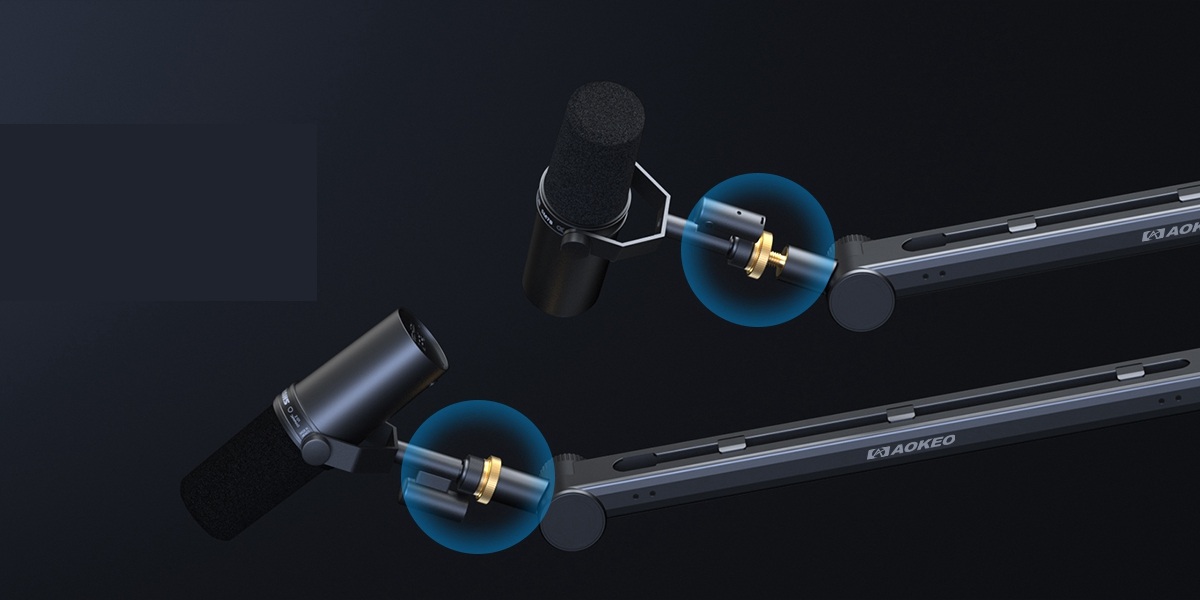
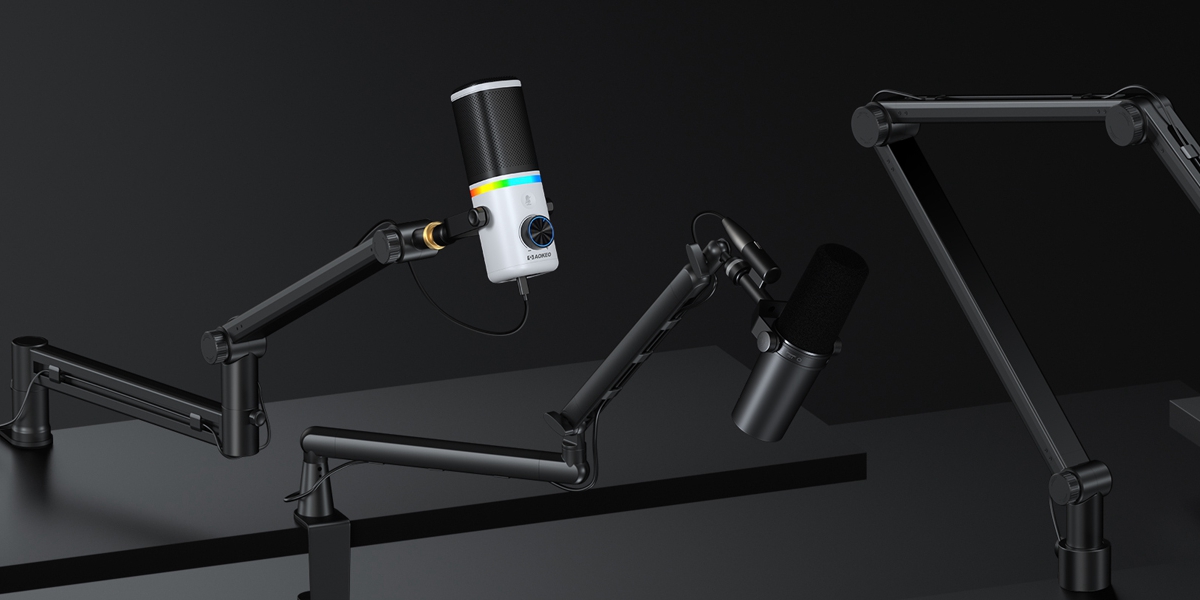
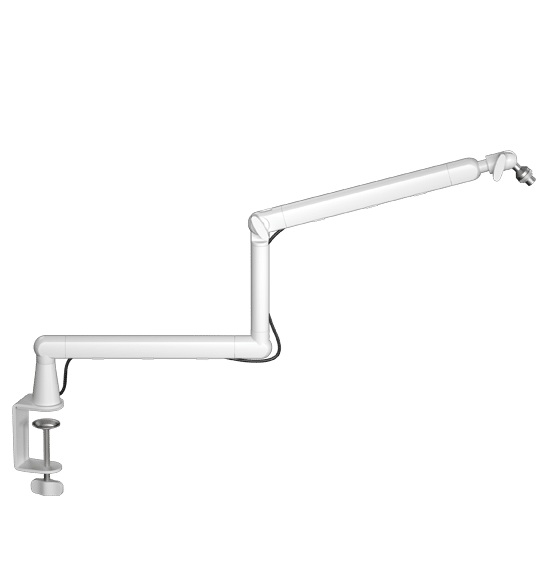
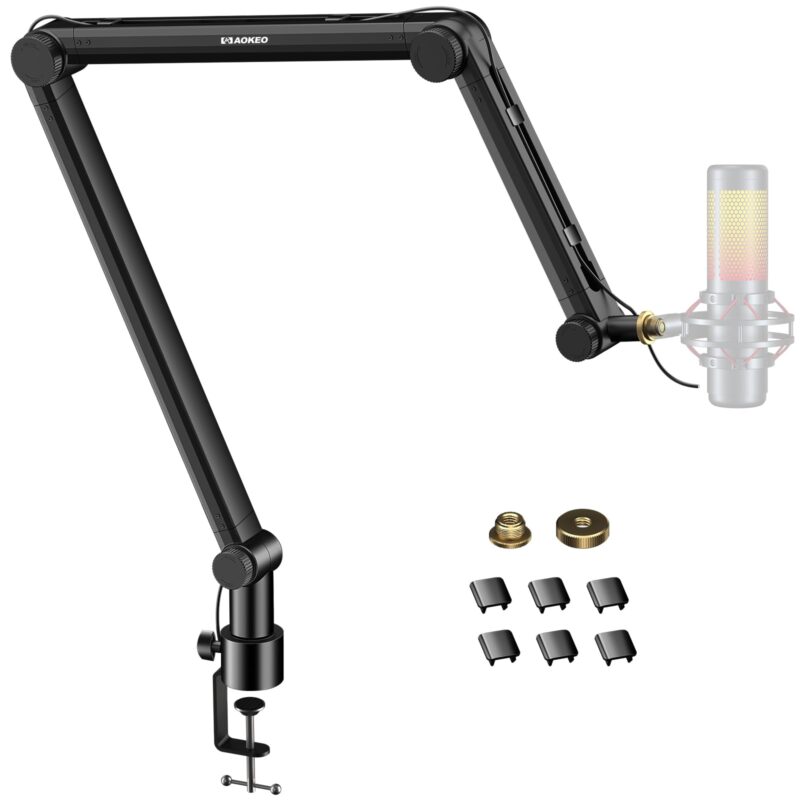
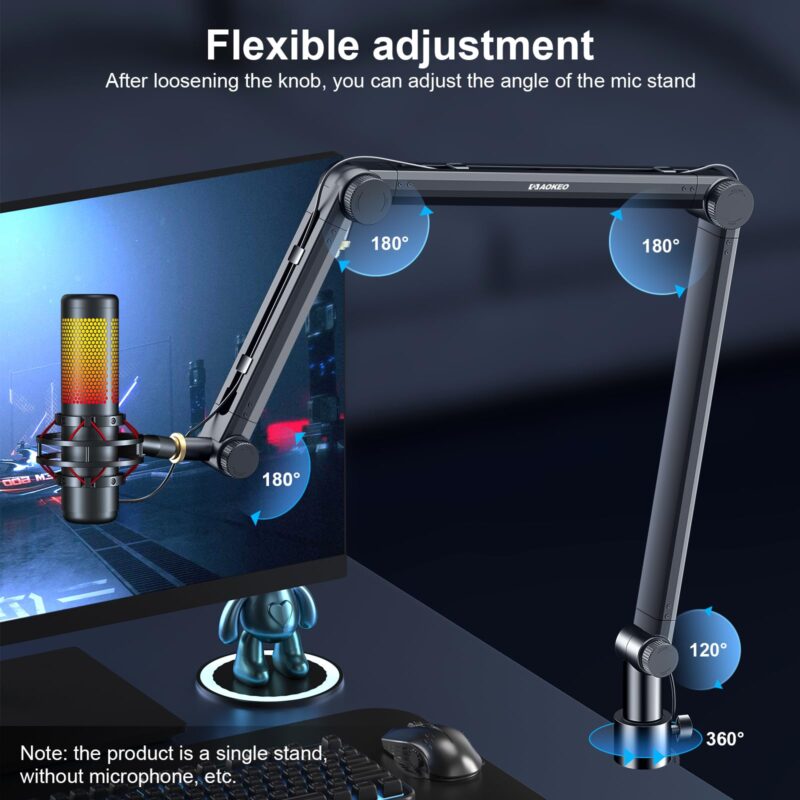
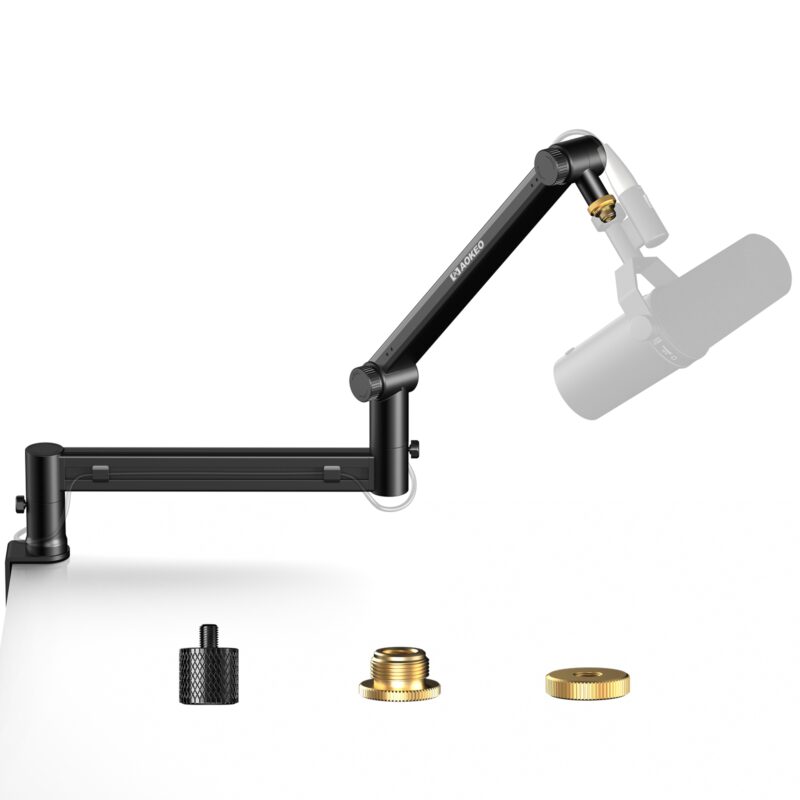
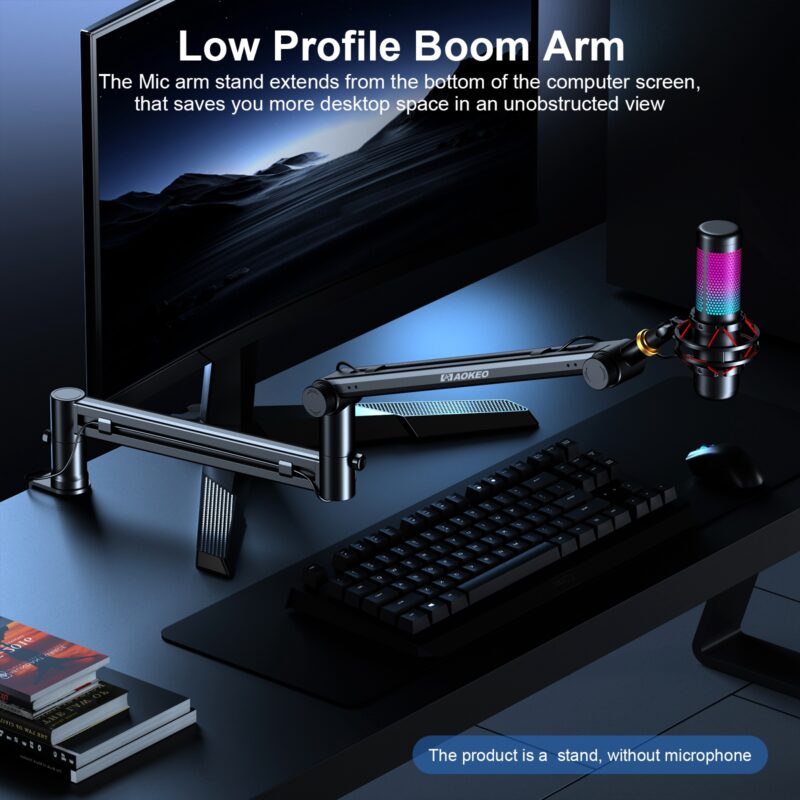
AK55 Low Profile Mic Arm
Original price was: $38.99.$34.99Current price is: $34.99.
Adjustable Microphone Arm Stand
Aokeo AK-55 Low-Profile Mic Arm features a 360° rotating adjustable boom stand, ideal for Blue Yeti, Snowball iCE, HyperX QuadCast, and more. Designed for gaming, podcasting, recording, and streaming, it fits tables up to 7cm thick, ensuring a sturdy and flexible setup for any workspace.
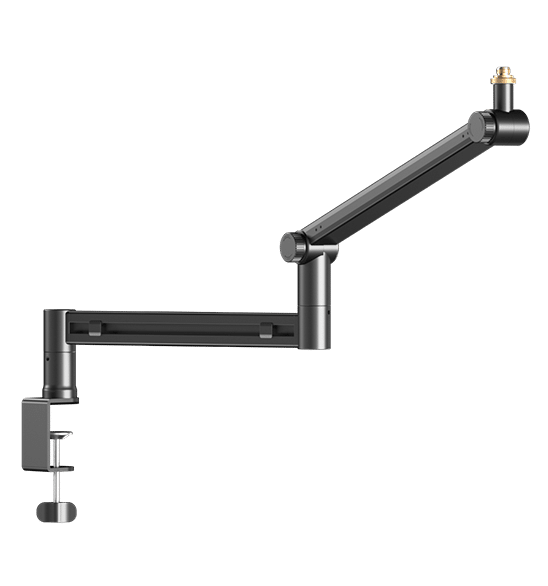
AK58 Low Profile Mic Arm
Original price was: $49.99.$39.99Current price is: $39.99.

Aokeo B8-pop
Original price was: $15.99.$9.99Current price is: $9.99.
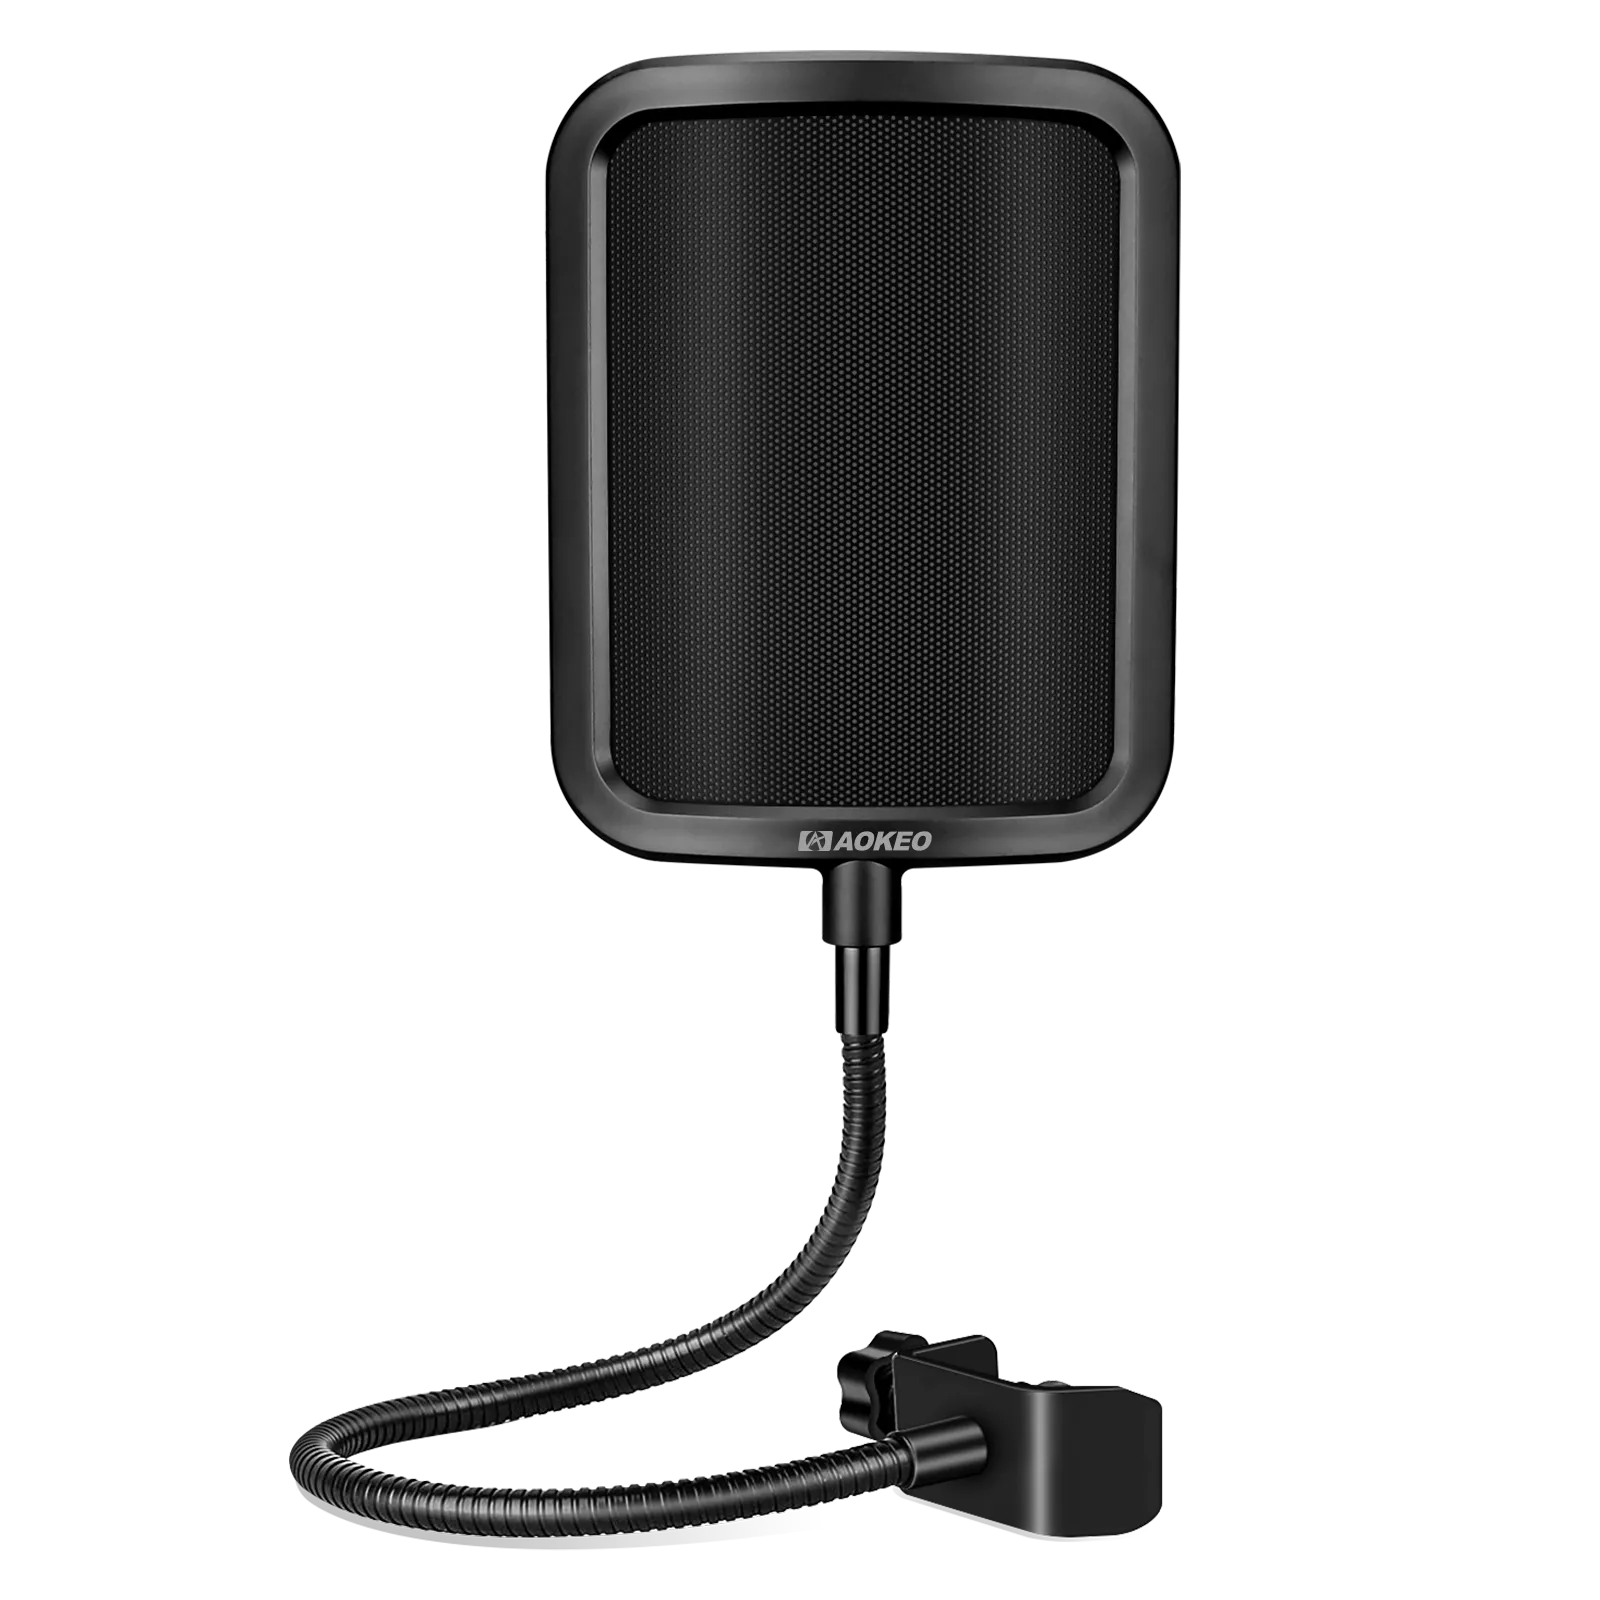
Aokeo F-pop
Original price was: $19.99.$12.99Current price is: $12.99.
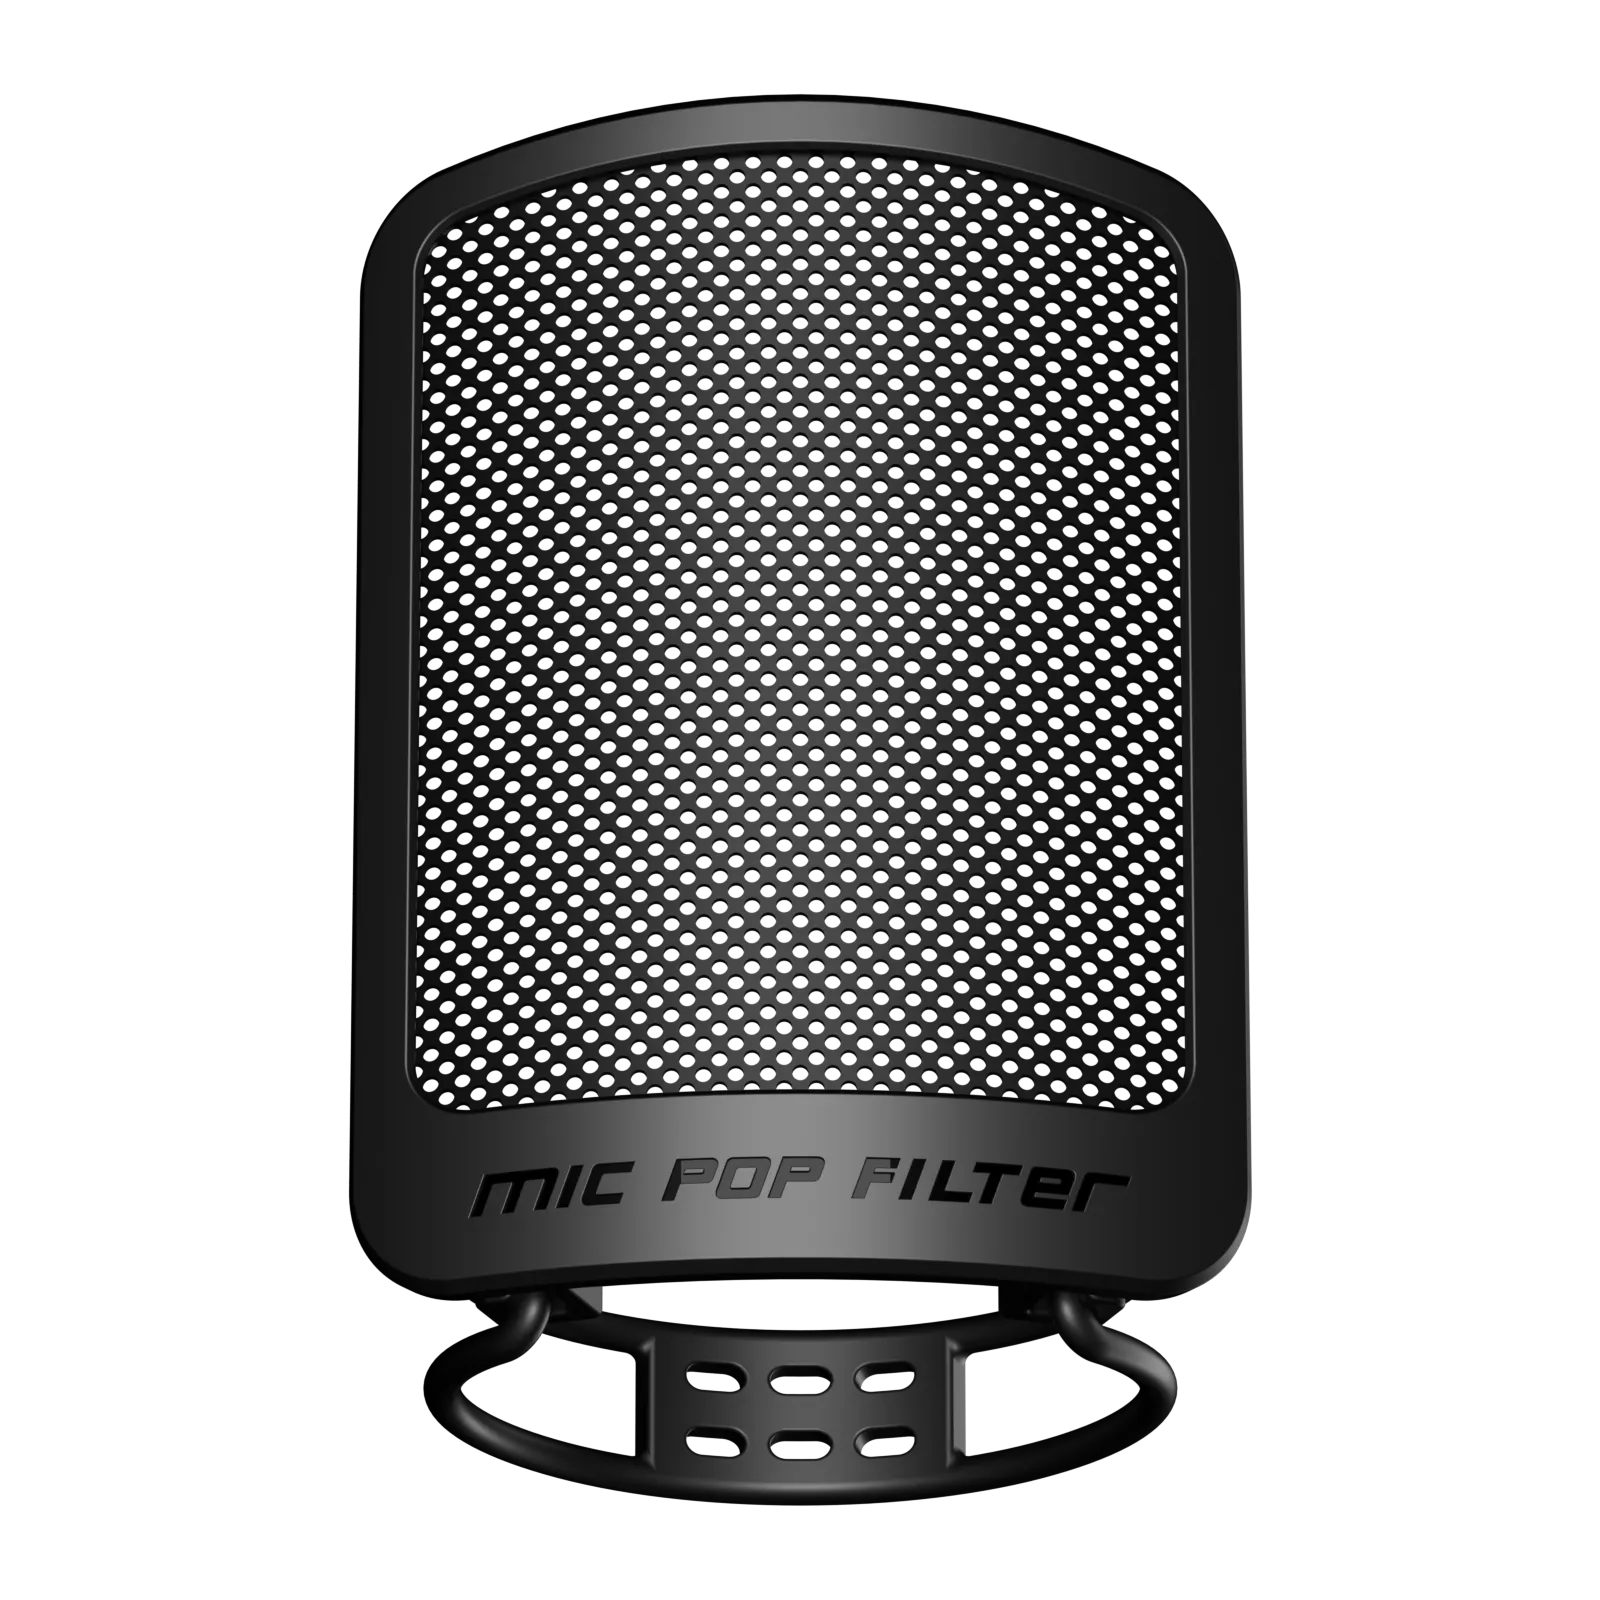
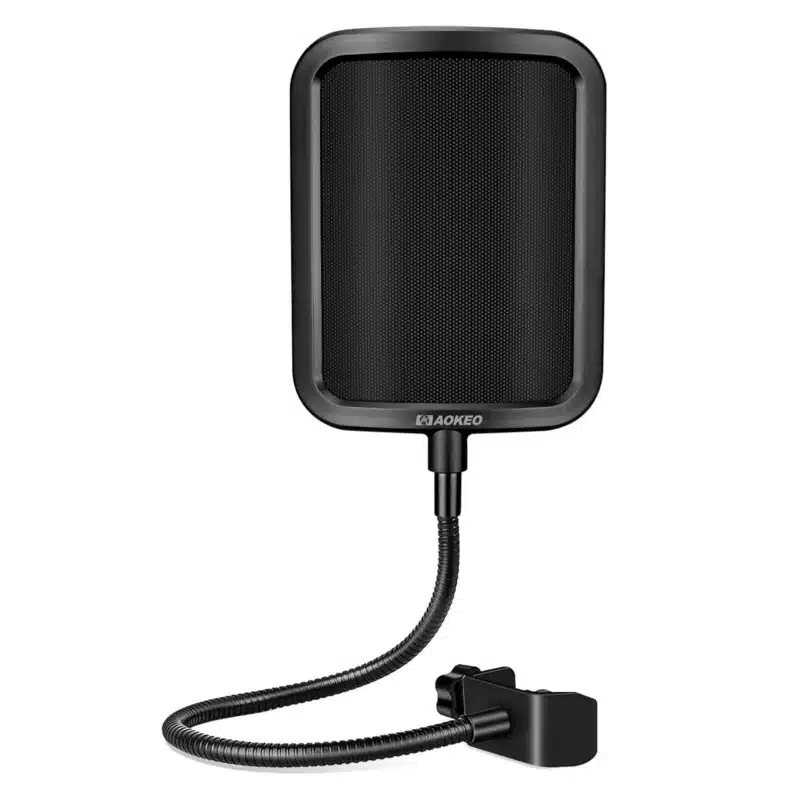
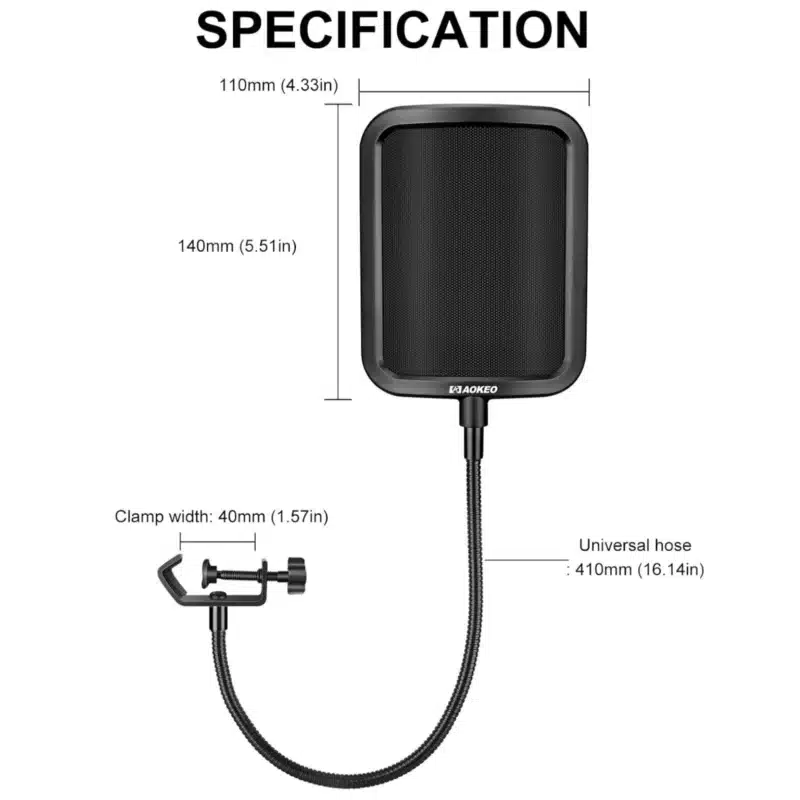
Aokeo Metal F-Pop Filter
The Aokeo Metal Pop Filter features a durable metal mesh layer that effectively blocks plosive sounds for clearer audio. Designed for mics like HyperX QuadCast, Blue Yeti, and more, it includes a flexible 360° gooseneck and a stable clip-on arm - perfect for streaming, podcasting, and vocal recording.
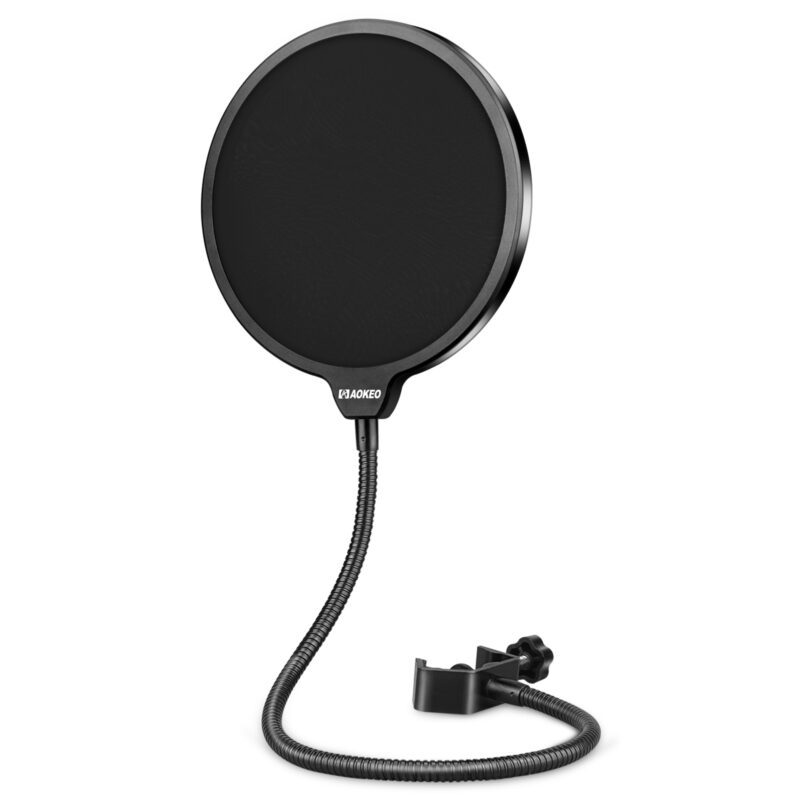

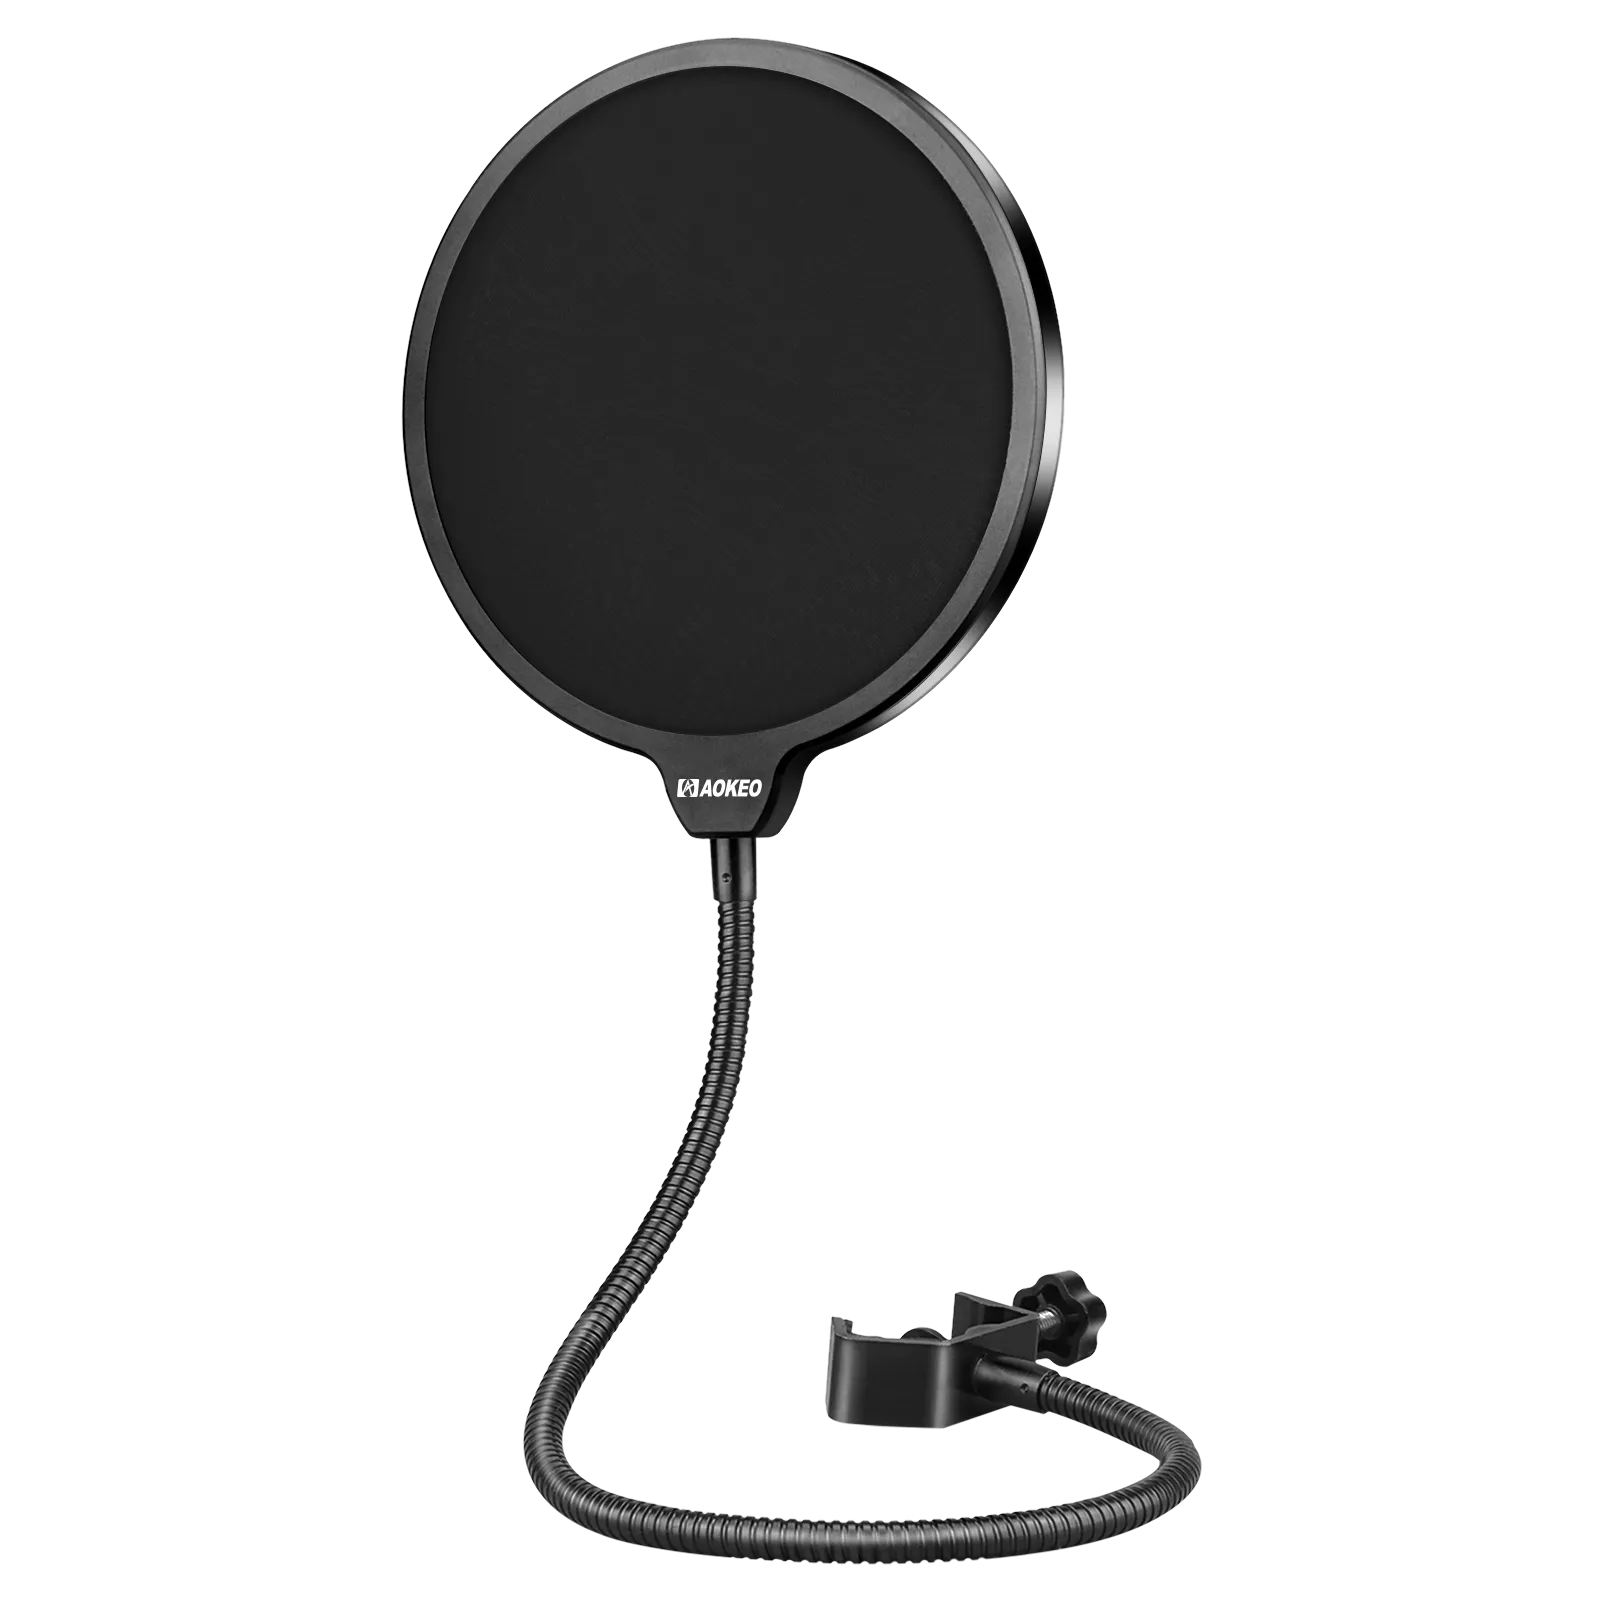
Aokeo O-Pop
Original price was: $19.99.$12.99Current price is: $12.99.

Aokeo U-pop
Original price was: $15.99.$9.99Current price is: $9.99.
Aokeo Upgraded Three-Layer Pop Filter combines a metal mesh, foam, and etamine layer to effectively reduce wind noise and plosive sounds. This microphone windscreen cover offers enhanced protection and clear audio quality, making it ideal for vocal recording, YouTube videos, and streaming. NOTE: THIS WILL NOT FIT THE BLUE YETI.