Save Your Desk! How to Prevent & Fix Mic Arm Damage
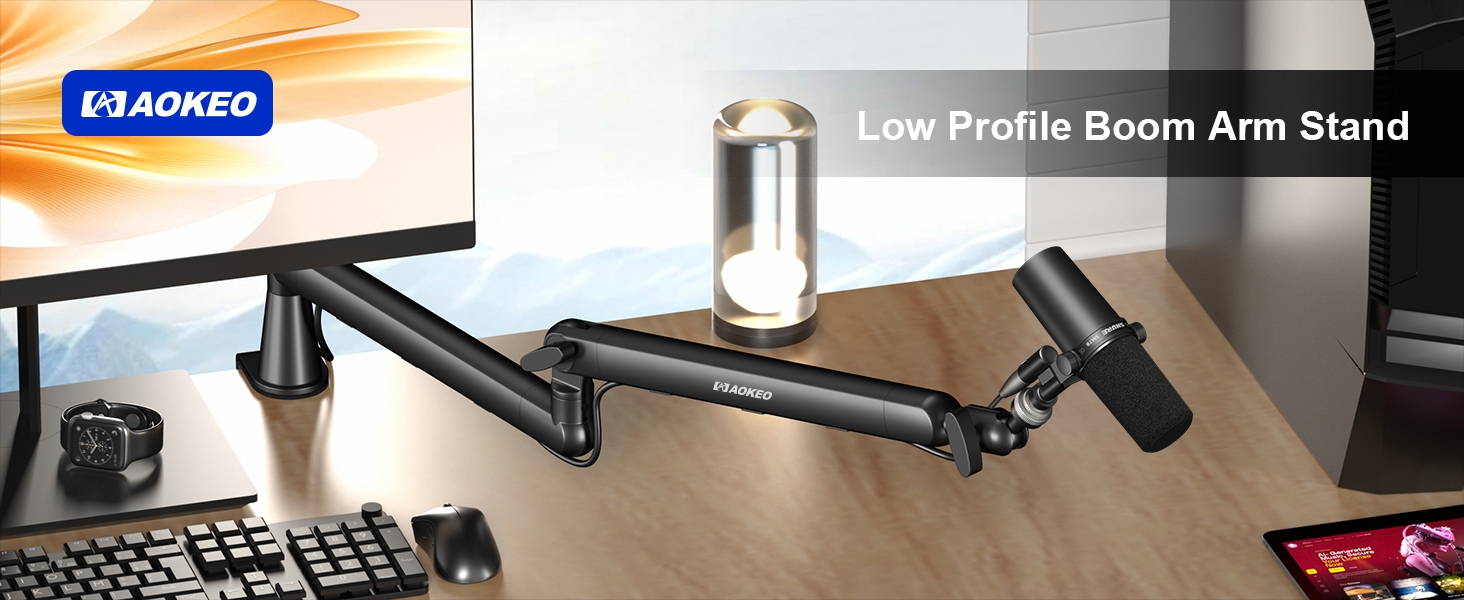
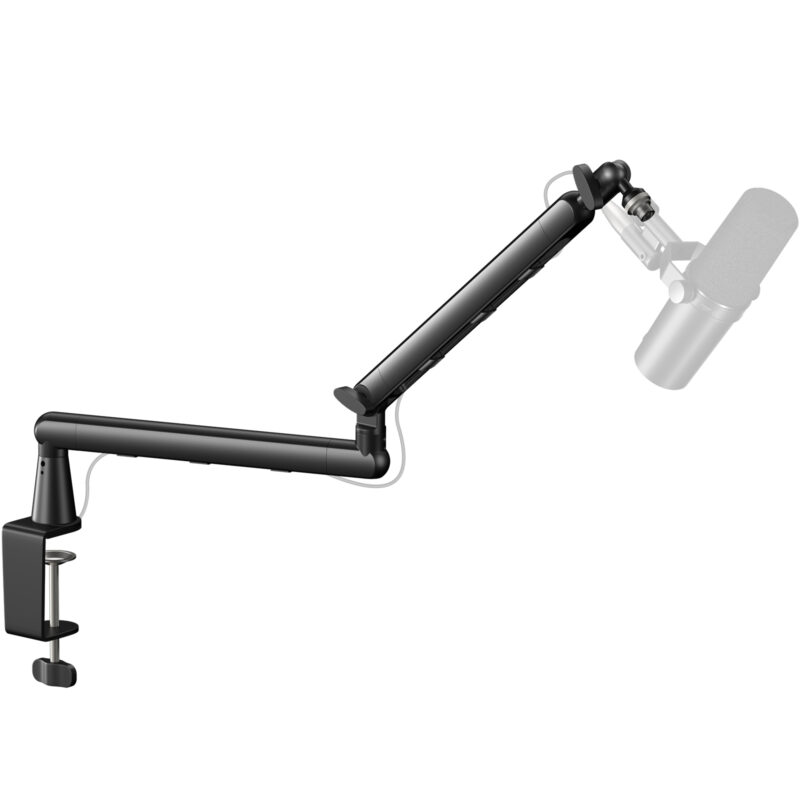
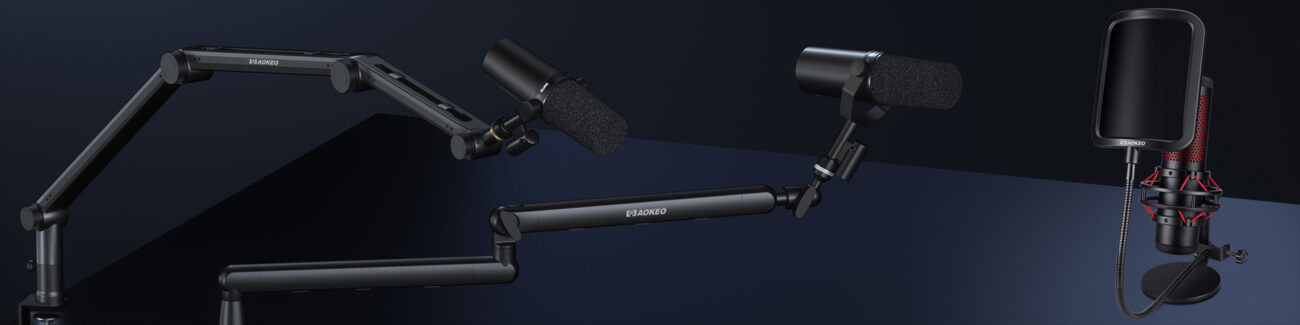
AK55 Low Profile Mic Arm
Original price was: $38.99.$34.99Current price is: $34.99.Adjustable Microphone Arm Stand
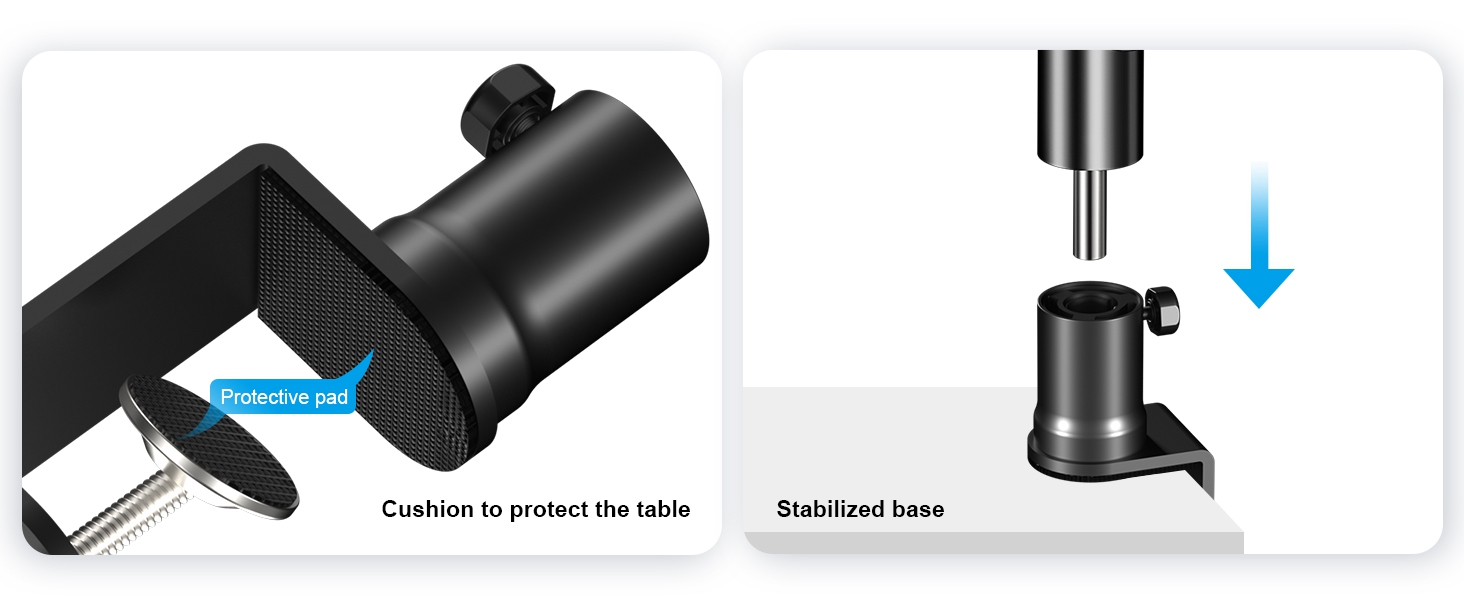
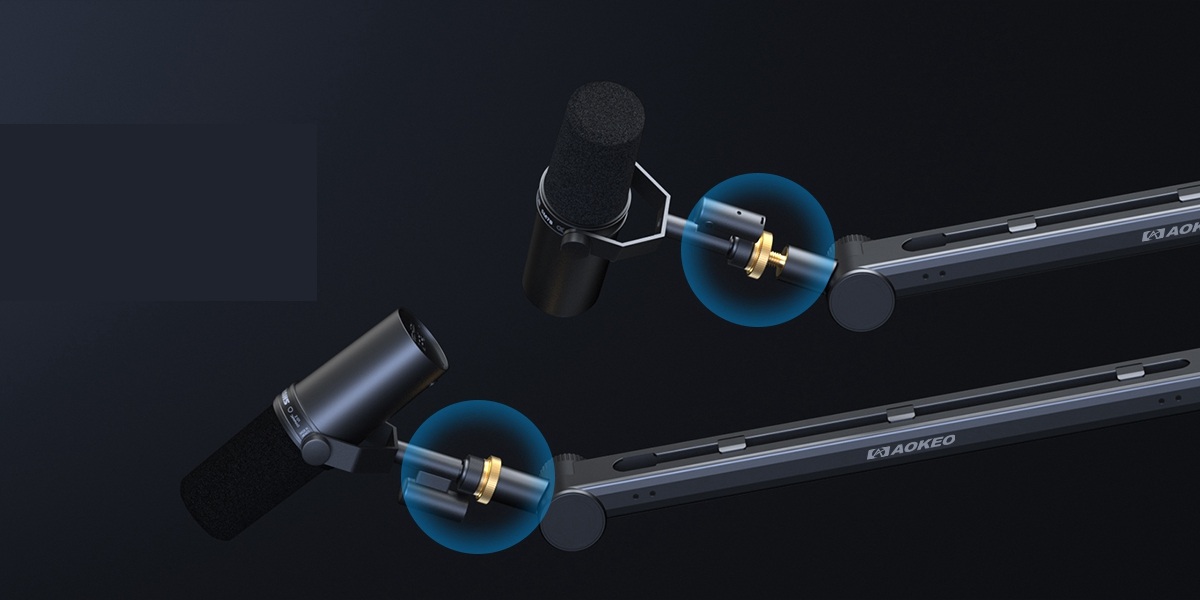
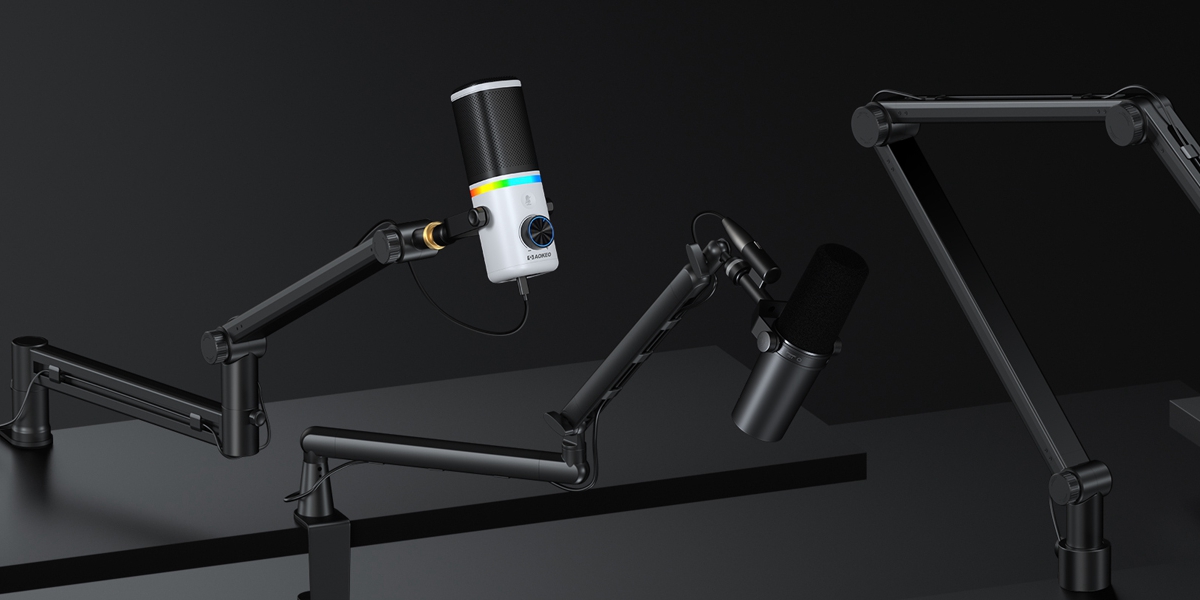
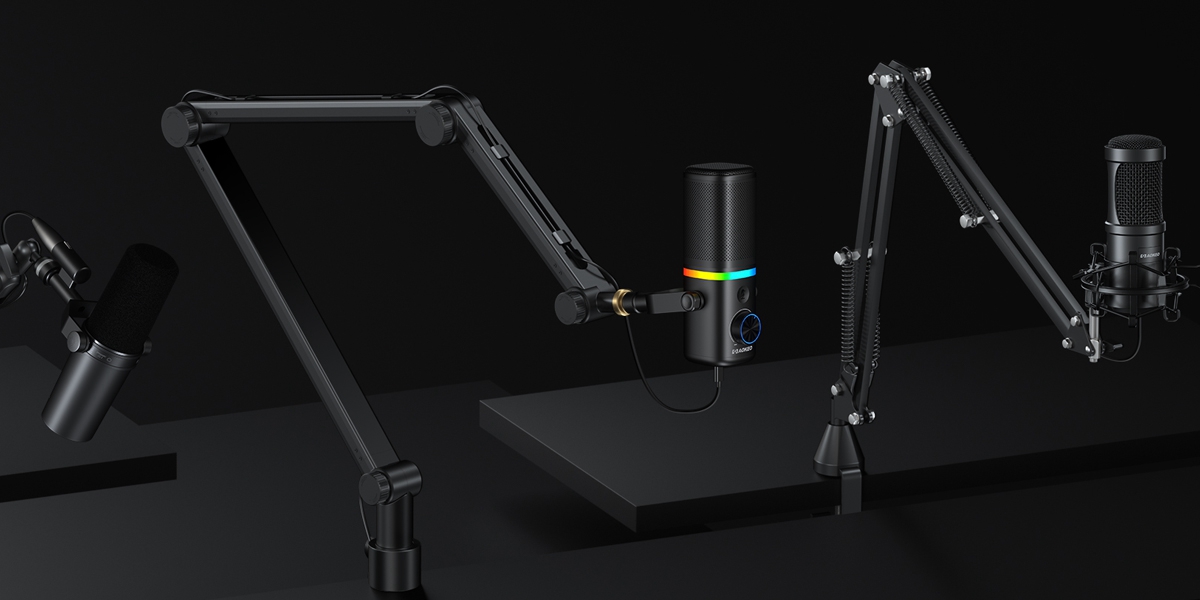
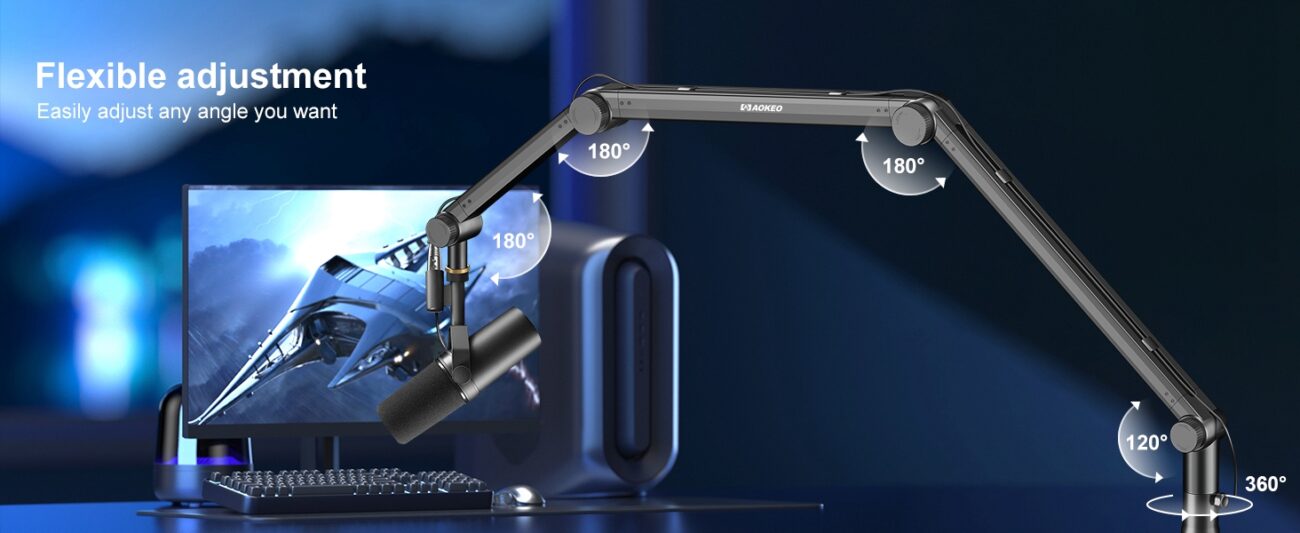
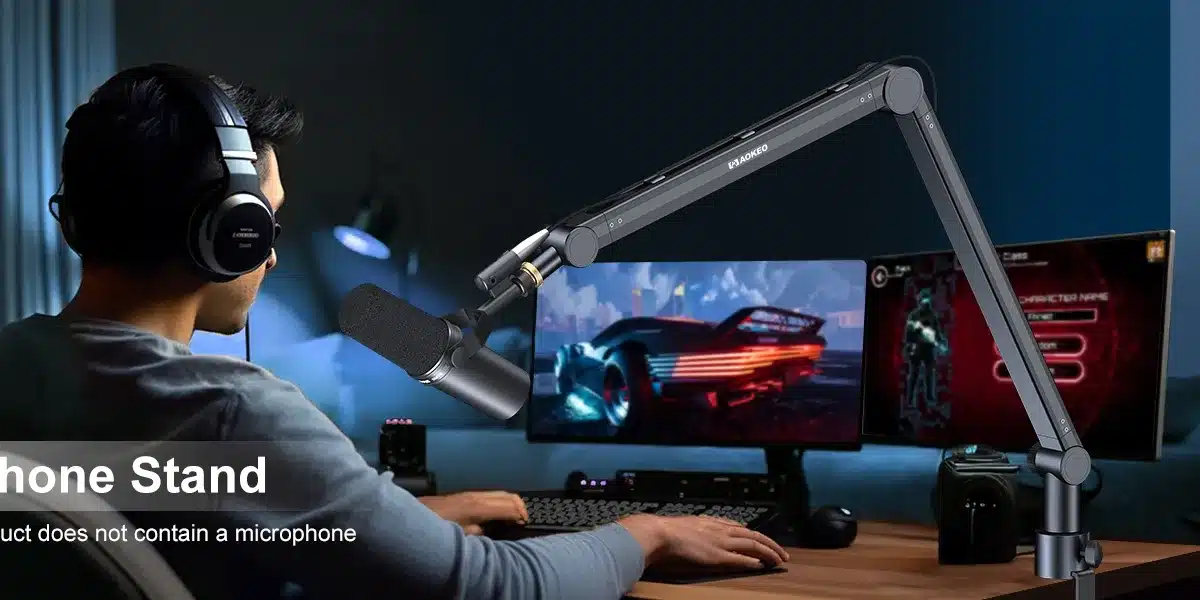
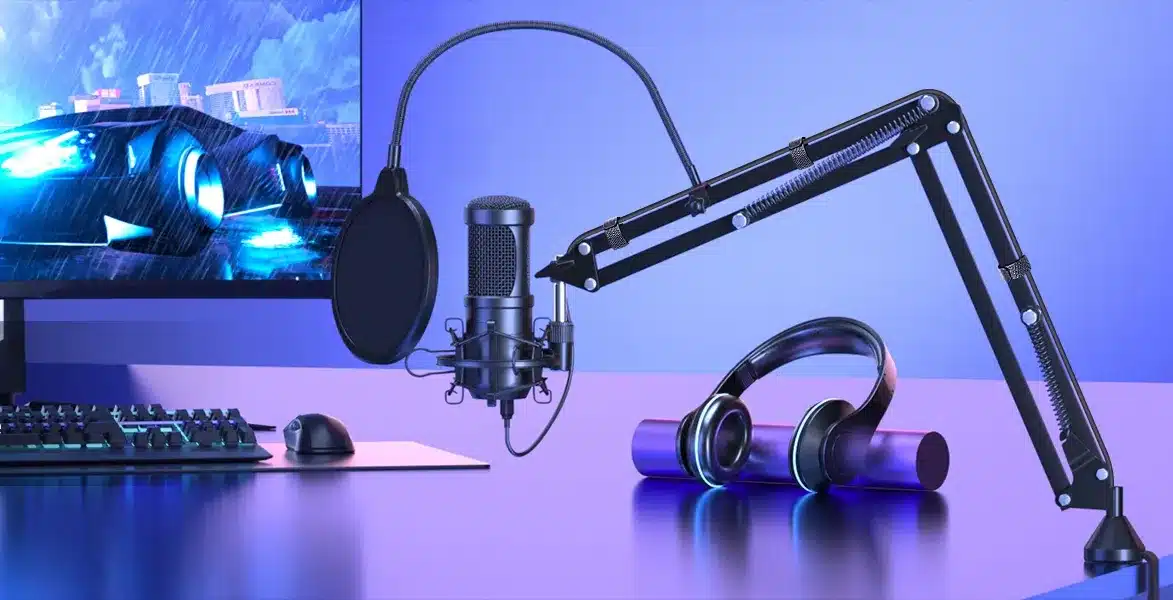
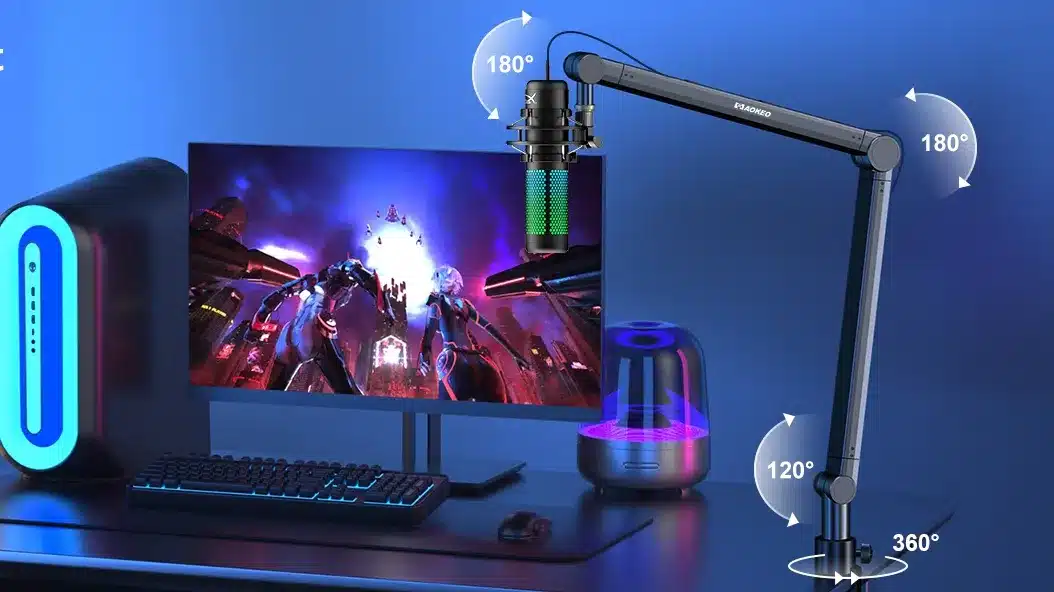
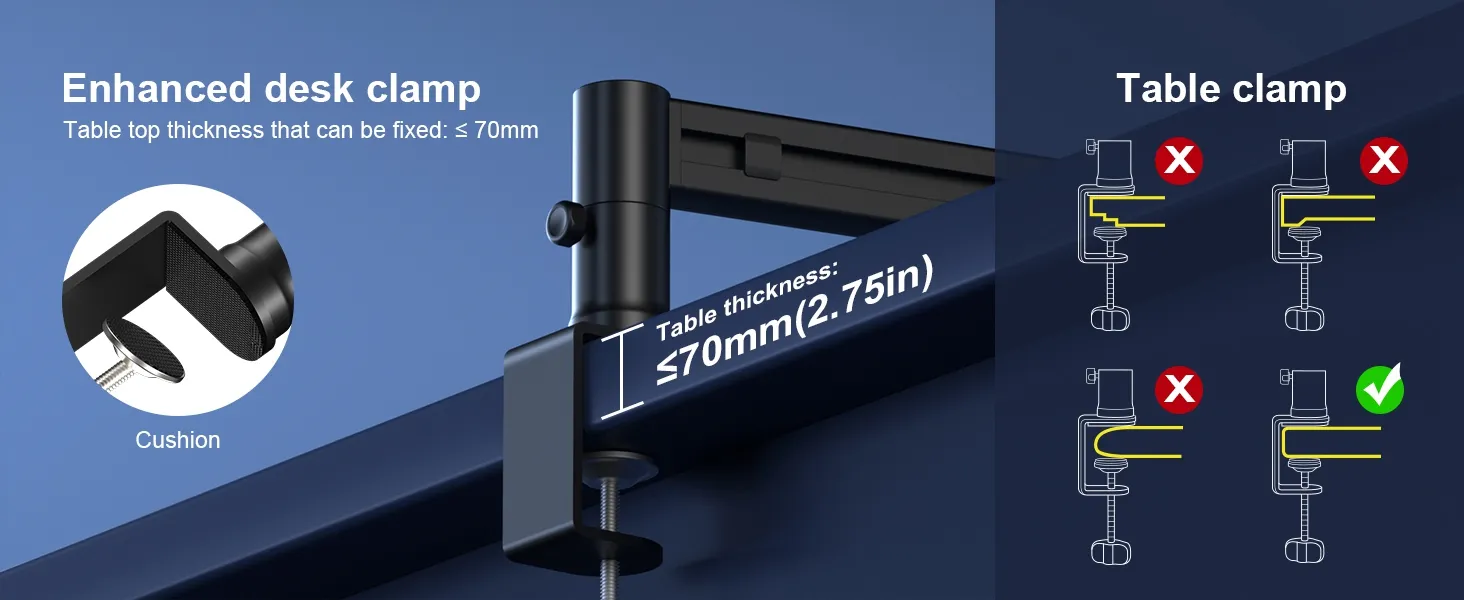
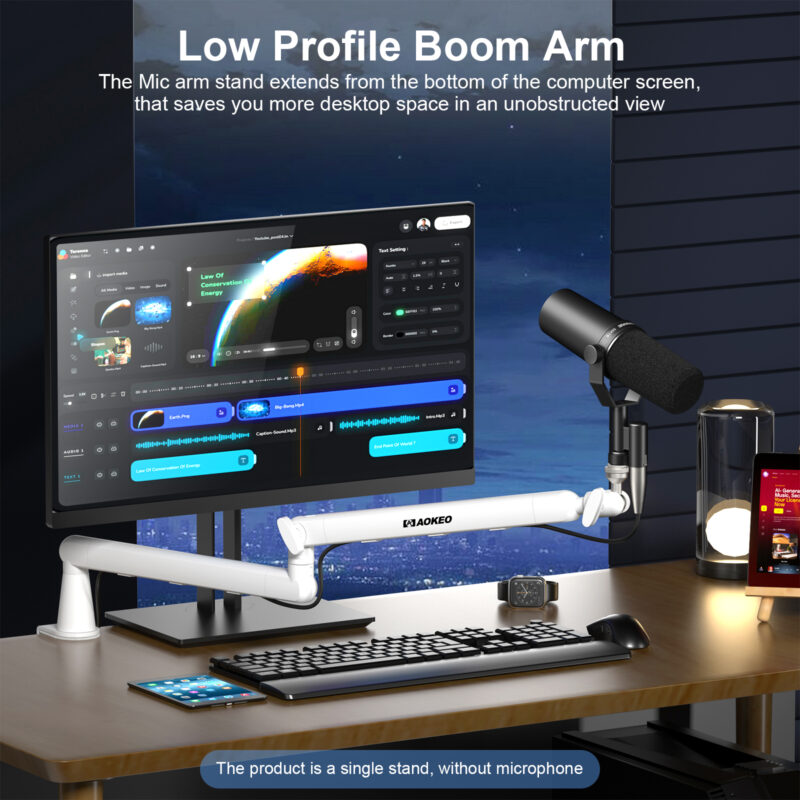
Aokeo AK-55 Low-Profile Mic Arm features a 360° rotating adjustable boom stand, ideal for Blue Yeti, Snowball iCE, HyperX QuadCast, and more. Designed for gaming, podcasting, recording, and streaming, it fits tables up to 7cm thick, ensuring a sturdy and flexible setup for any workspace.
![]()
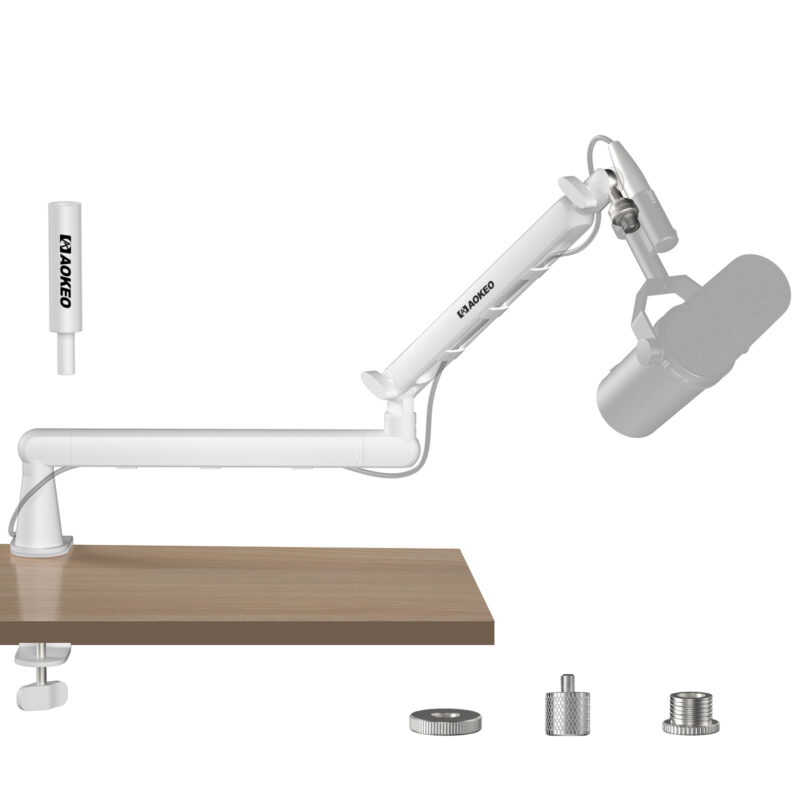
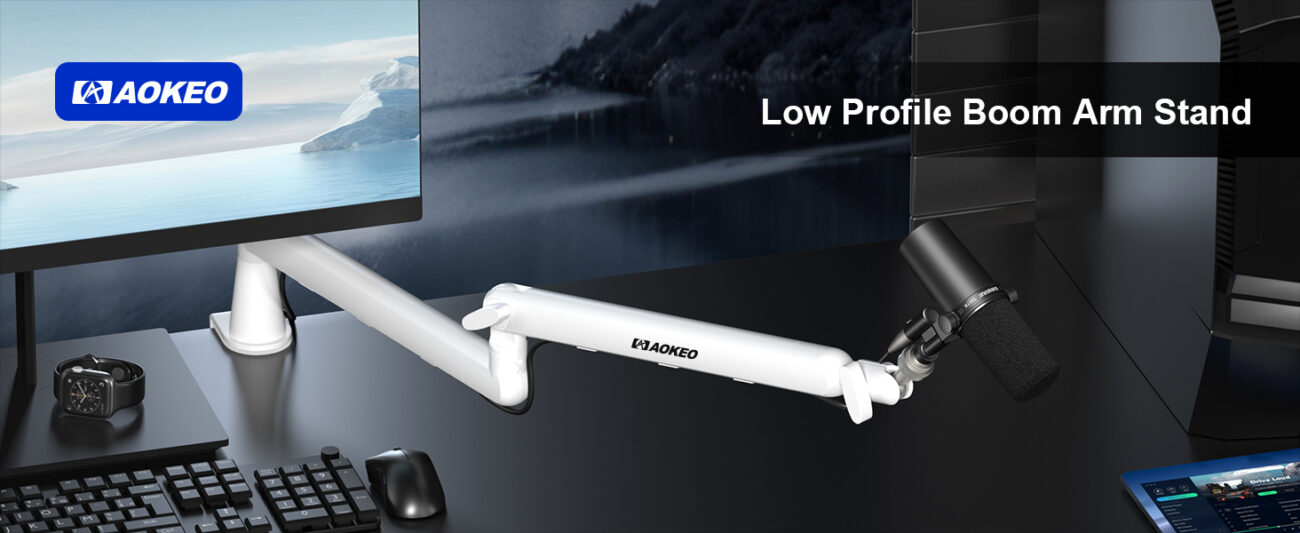
AK55 Low Profile Mic Arm White
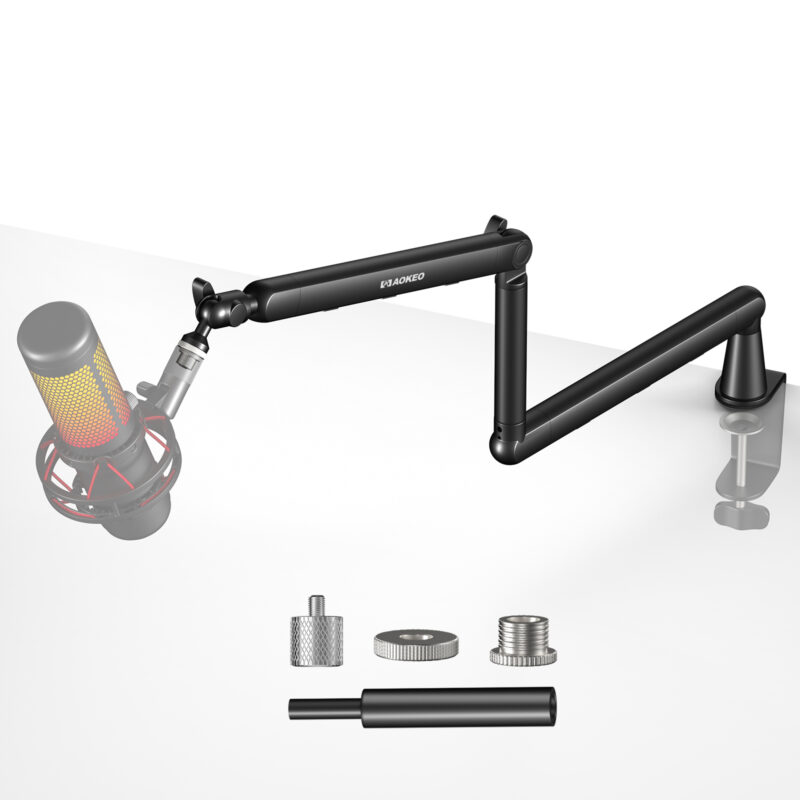
Original price was: $38.99.$35.99Current price is: $35.99.Aokeo AK-55 Microphone Arm offers a low-profile, studio-quality adjustable boom arm with 360° rotation. It provides robust support for popular mics such as Blue Yeti, Snowball iCE, HyperX QuadCast, SoloCast, and Elgato Wave. Featuring an easy clamp, this universal mic arm is ideal for streaming, podcasting, and gaming setups.
![]()